How To Do An Internal Mitre On Skirting Boards
Posted by Lee Watkinson on 26th Sep 2025
Internal mitres are essential for joining up your skirting boards at inside corners. Getting this right makes the difference between a professional finish and something that looks obviously DIY.
Tools and materials
A chopsaw gives the cleanest cuts, but a mitre block and sharp hand saw will work fine for occasional use.
Step-by-step guide
Clean the area
Before fitting the skirting boards, make sure the wall area is nice and clean. Remove any dirt, debris or dust with a brush.
Dust and debris can cause skirting to sit unevenly and reduce adhesive effectiveness later.
Measure and mark the first board
Measure the wall length and mark the first skirting board. Keep the markings towards the left-hand side for consistency.
Before cutting the skirting board, double-check your measurements - it's much easier to measure twice than cut twice.
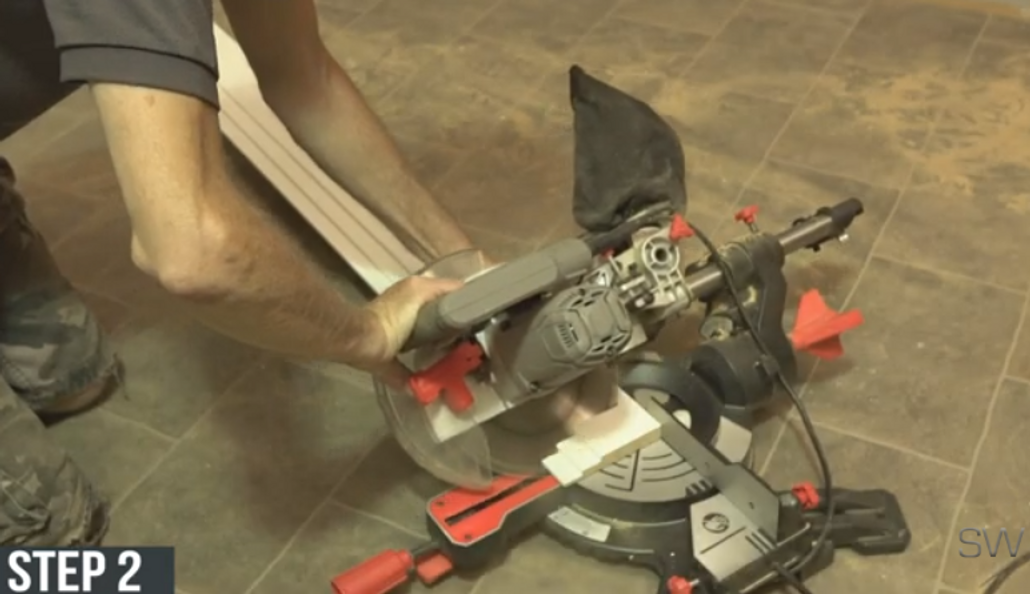
Cut the first 45-degree angle
Using a chopsaw or handsaw with mitre block, position the skirting with the profile facing you and cut the end at a 45-degree angle.
Then cut the skirting board to the length of the wall and test-fit to make sure it's right.
The key is getting a clean, accurate cut - any roughness here will show in the final joint.
Tip: If your walls are not perfectly straight, use our Mitre Angle Calculator
Cut the second board
Take the second skirting board and turn it around so the profile faces away from you. This is crucial for getting the angles to match up.
Mark the spot and cut at 45 degrees in the opposite direction to the first board.
When done correctly, your two cut ends should form a perfect right angle when placed together.
Test the mitre joint
First, use sandpaper to take the burr off the skirting board cuts - this smooths any rough edges from cutting.
Test the mitre joint by dry-fitting the pieces together without adhesive. The joint should be tight with no gaps.
If there are gaps or the joint looks off, go back to step 3 and re-cut the angles until they fit perfectly.
Installation and fixing
Apply adhesive
Once you're happy with the mitre joint, flip both skirting boards so you can see the back. Apply adhesive in a zigzag line along the length.
The zigzag pattern gives better adhesion than blobs of glue and helps prevent gaps appearing later as the adhesive cures.
Position and press
Carefully position each skirting board on the wall, making sure the mitre joint aligns perfectly. Apply firm pressure along the length to ensure good contact with the wall.
Hold the joint together for a minute or two to let the adhesive start gripping, then allow it to set completely.
Permanent fixing
Once the adhesive has set, secure the skirting boards permanently. Your options depend on the wall type and tools available:
For stud walls
Hammer and nails or a pin gun work well. Mark your fixing points with pencil first and ensure you hit the timber studs for a secure hold.
For brick walls
Use a masonry bit to drill pilot holes, then countersink and screw. This gives the strongest fixing for solid walls.
Perfect internal mitres every time
The secret to perfect internal mitres is accurate marking, clean cutting, and patient test-fitting. Take your time with the angles and the joint will look seamless.
Remember to sand off any rough edges after cutting and always dry-fit before applying adhesive. This extra step prevents having to re-cut pieces later.
With practice, cutting internal mitres becomes straightforward, and your rooms will have that professional, finished appearance that makes all the difference.
