How To Scribe Skirting Boards For Internal Corners
Posted by Lee Watkinson on 17th Feb 2023
How To Scribe Skirting Boards For Internal Corners
When fitting skirting boards, you always want to aim for the best quality finish. We've discussed mitre joints in previous posts but today we're going to show you how to scribe skirting boards for internal corners.
Full Skirting Board Scribing Guide
How To Scribe Skirting Boards For Internal Corners
Tools Needed:
- Hand Saw
- Coping Saw
- Sandpaper
- Mitre Saw/Mitre Block
- Pencil
Step 1: Cut The Skirting To Size
So you have the piece of skirting that you need to scribe in order to fit it snugly into the corner up against the piece you've already installed.
We would recommend roughly cutting this length to size. This will make the length more manageable and easier to manoeuvre. But you don't want to cut it perfectly to size at this point as you'll be scribing one end and may end up needing to cut more away if you make any mistakes.
A safe bet is to add approximately 100mm (10cm) to the final measurement to allow for mistakes.
You can easily cut it to the perfect size once you're happy with the scribe joint.
Step 2: Cut A Back Mitre
A mitre you say? Don't worry, we're definitely going to be scribing!
For our easy to follow method, you'll want to mitre the end you're planning to scribe as if you were mitring it for an internal corner. This will be a mitre in the direction across the face of the skirting like in the image below.
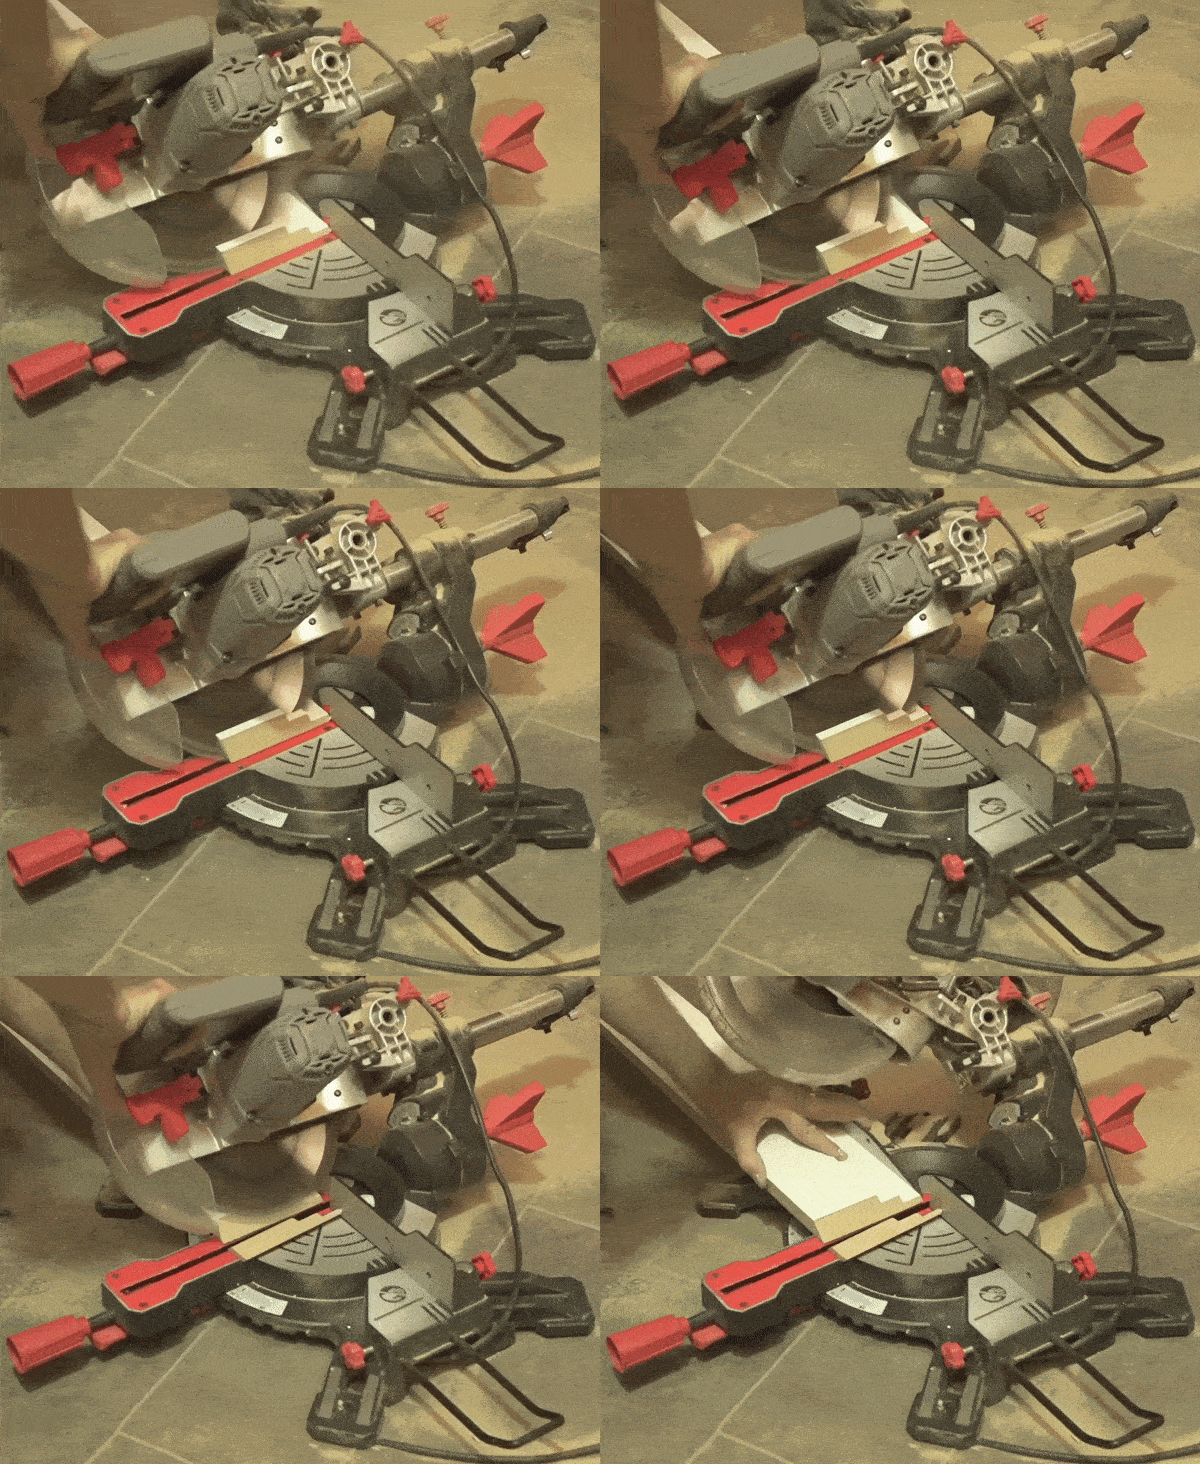
Doing this will make it much easier to get a great fitting scribe.
Step 3: Mark The Edge
This is an optional step.
Using a pencil, mark the edge of the profile all the way from the detail to the bottom of the skirting. By edge, we mean where the face of the skirting meets the face of the mitre.
Doing this will make cutting the scribe a little easier as the line you need to follow will be much clearer.
If the skirting board is already primed, this will also make the scribing easier as it's easy to distinguish the line between the primed face and the unprimed mitred face.
Step 4: Cut The Straight Edge
Before we touch the detailed section of the board, we'll tackle the simpler straight edge.
You'll want to cut from the bottom of the skirting all the way up to exactly where the design starts.
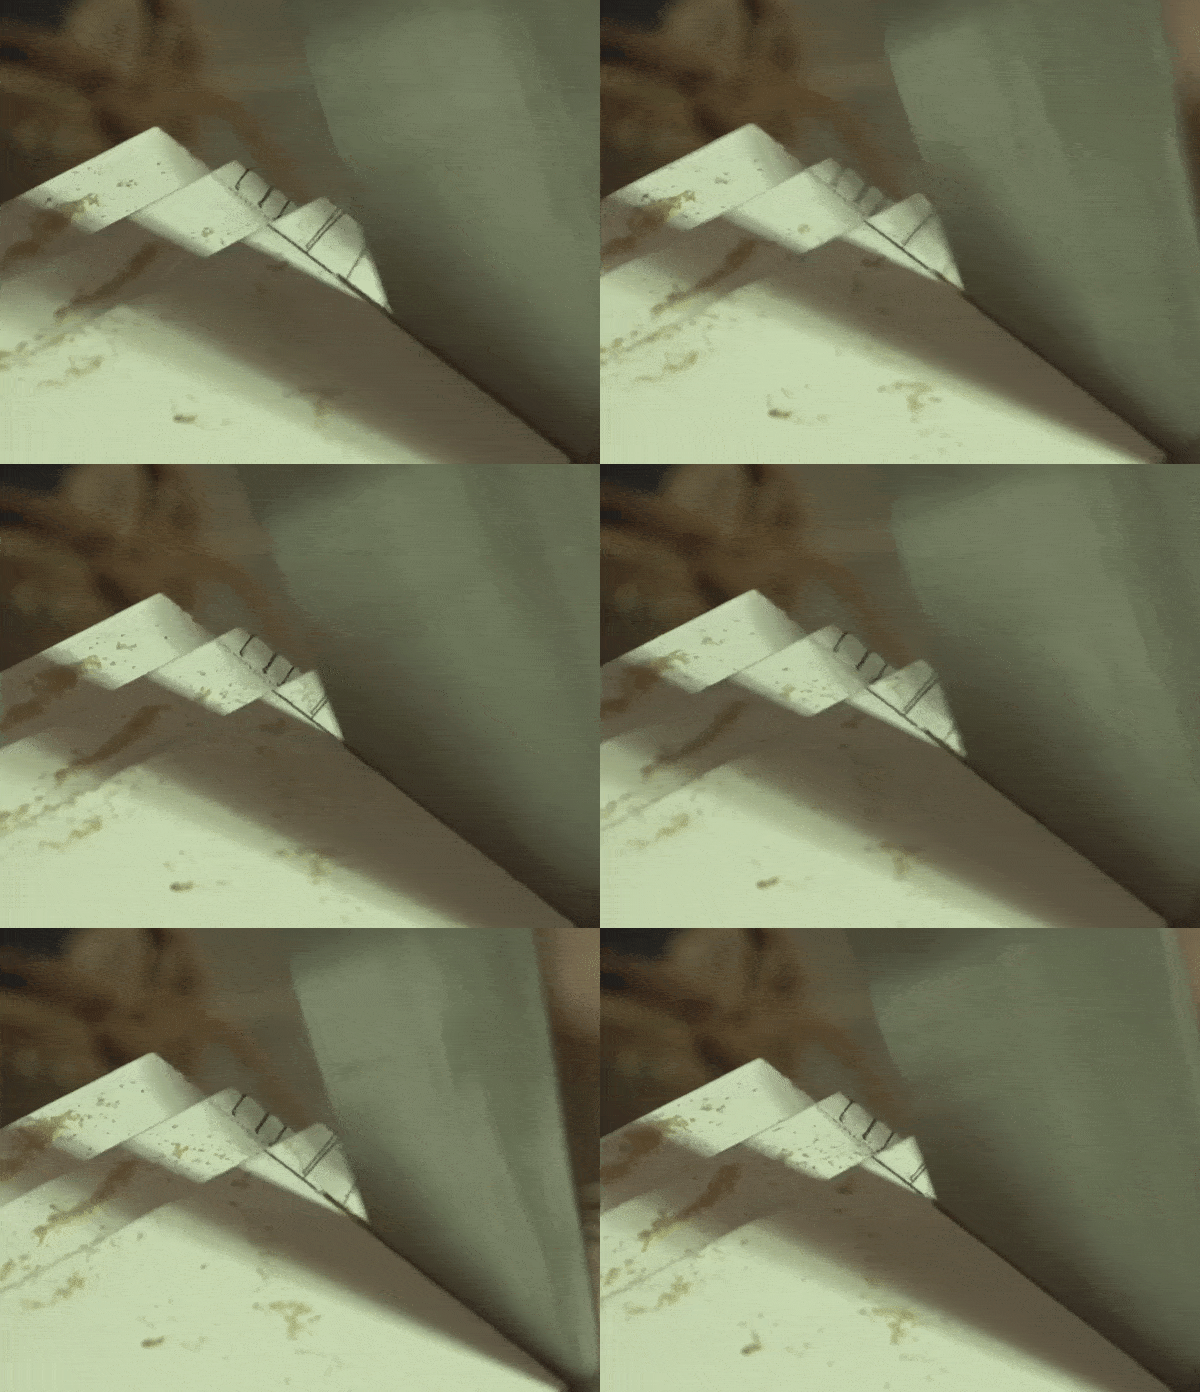
Use a normal hand saw for this section and rather than cutting straight, angle the saw in behind the face of the skirting. Doing this will create a back cut and allow more movement when fitting the scribed skirting into place.
Step 5: Cut The Profiled Edge
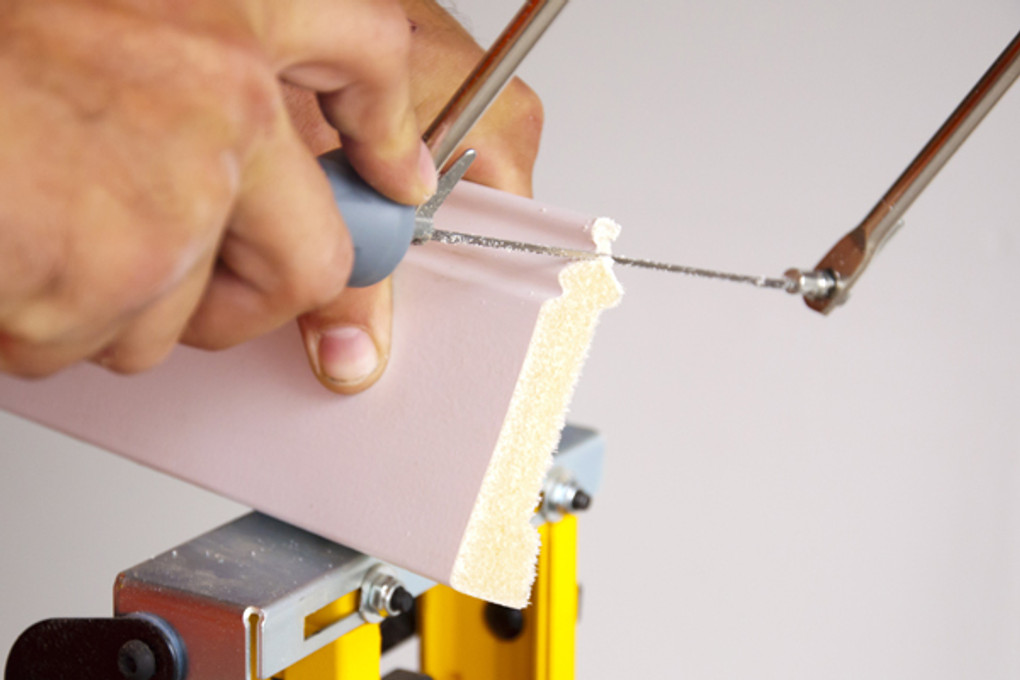
Now you can switch to a coping saw which makes it much easier to change the direction of cutting - perfect for following the curves and intricate detailing of some skirting boards.
It's easier to start cutting from the top of the skirting (opposite to where you started with the straight edge) and head down the design.
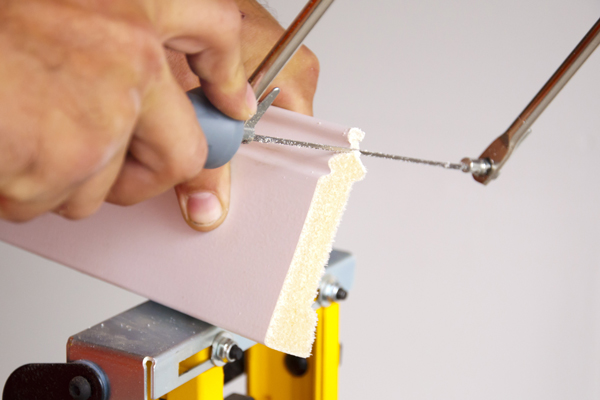
As you reach tight turns, feel free to cut away any excess material to allow more free movement of the saw as you proceed.
Remember to keep cutting at a slight angle as you did in step 4.
Step 6: Sand The Edge
A quick light sanding of the edge will remove any loose or jagged edges to allow the skirting to fit snugly against the other piece.
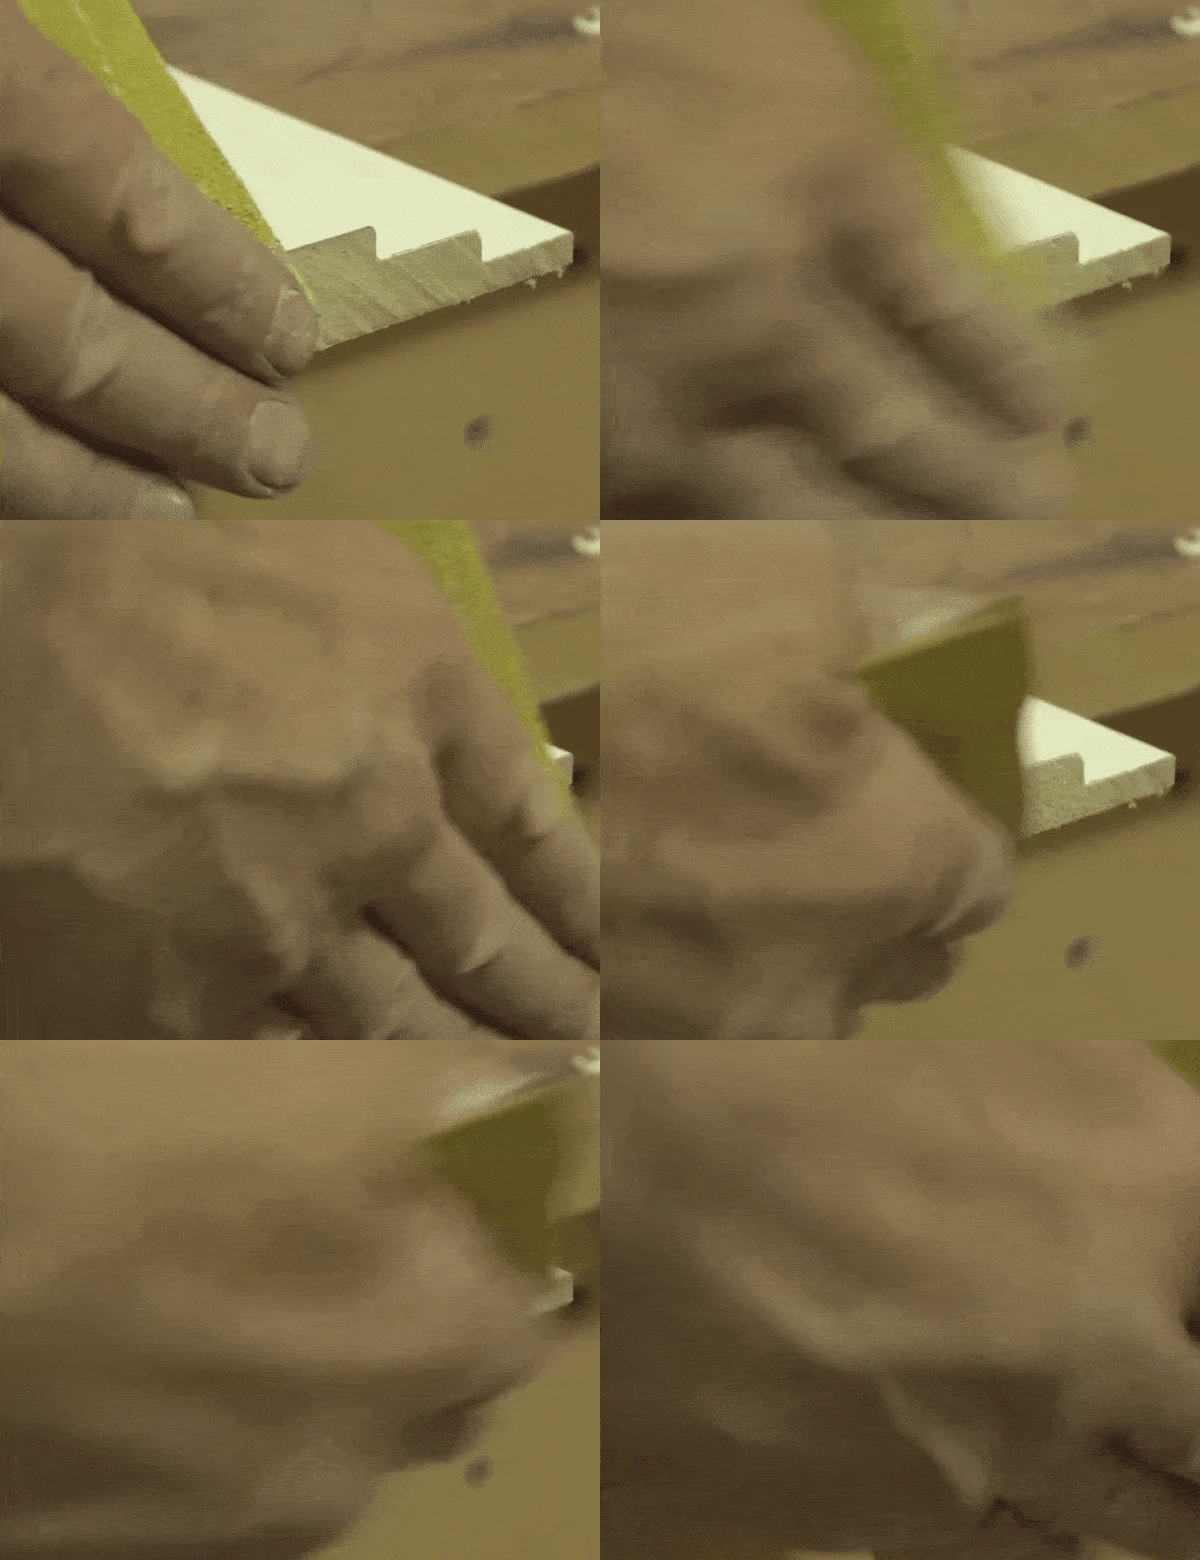
Take it easy here as you don't want to alter the edge in any way.
Step 7. Dry Fit The Skirting Board
Now you simply need to push the skirting board into position and check the fit!
If you've managed to nail it first go, you'll have ended up with a perfect fit. If this is the case, you can simply cut the board to the correct length (remember how we left it slightly over in step 1) and secure it into position.
If you haven't managed to achieve the desired fit the first time around (don't worry, we've all been there!), now's your chance to amend the cut before fixing the board into place.
The Perfect Scribe
So there you have it! A detailed but easy to follow guide which should have you scribing skirting like a professional carpenter.
FAQ
Scribe Or Mitre?
The quickest method would be to mitre the skirting. You simply find the correct angle and cut (mitre) the two joining pieces to suit. However, scribing the skirting board will yield the best results when it comes to the fit and finish of the room. It ensures that you will have a tight joint in the corner where the boards meet and allow more room for error where corners aren't exact right angles.
What Is A Scribe?
In the world of skirting boards, a scribe is simply a method of cutting one piece so that it perfectly fits over another. On an internal corner, one piece of skirting would be installed by butting the end into the wall. The other piece would then be cut to match the exact profile that is present on the skirting boards. This is so that the scribed skirting board will fit directly up against the initially installed piece. Before you make any rash decisions by choosing the 'easy route' and mitring all the ends, rest assured that scribing is not as difficult as it may sound (this is also true if you have intricately decorated skirting).

Lee Watkinson
Digital Marketing Director at Skirting World with 10 years of experience in Home Interiors & Manufacturing.
