
What Is Architrave?
Posted by Sultan Khan on 27th Feb 2026
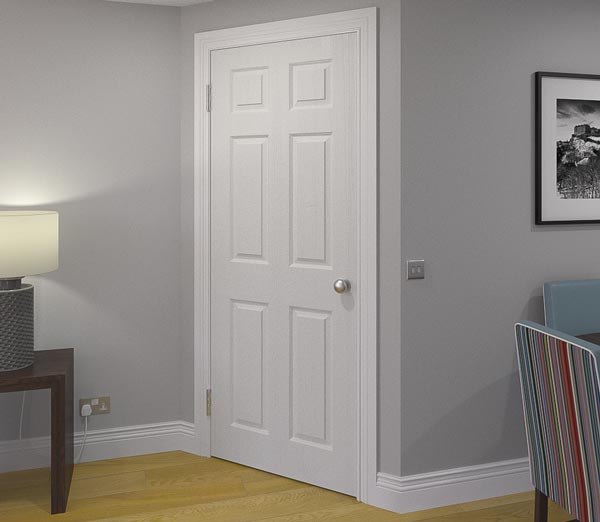
You walk past them dozens of times a day without thinking about it. Architraves are the decorative mouldings that frame your doors and windows, covering the gap between the frame and the wall. Every internal door in a typical house has them, and most windows do too.
Quick answer: Architraves are the strips of moulding that go around your doors (and sometimes windows). They cover up gaps between the frame and wall, protect the plaster edges from knocks, and make the opening look neat and finished.
What is architrave?
Architraves are the decorative strips of wood (or MDF) that frame your doors and windows. They sit on top of the wall surface and cover the joint where the door frame meets the plaster.
Think of them as skirting boards for your doors. Skirting covers the gap between the wall and the floor. Architrave covers the gap between the wall and the door frame. Both are types of interior moulding, and in most houses they meet where the door reaches the floor.
Where the word comes from
The word architrave comes from ancient Greek, roughly meaning "chief beam." In Greek temples, architraves were genuine load-bearing beams that held up the roof. Remove one and the whole structure would come down.
Over the centuries they shifted from structural to decorative. By the Victorian era, they'd become ornamental features that reflected the character of the property. Today's architraves don't hold anything up, but they still serve practical purposes that go beyond appearance.
Why do you need architrave?
Architraves solve three problems that come up in every door opening:
Some contemporary homes skip architrave entirely for a minimal, flush-door look. It can work, but it does mean the plaster edges are exposed and any imperfections in the frame-to-wall joint are visible. For the vast majority of homes, architrave is doing real work.
Architrave vs door frame
These two get mixed up a lot. They're separate things that do different jobs:
Door frame (door lining)
Goes inside the wall opening. The door hangs on it. Usually made from softwood or MDF. Hidden once the architrave is fitted.
Architrave
Sits on top of the wall surface. Covers the joint between the frame and the plaster. The decorative part you actually see. Can be plain or detailed.
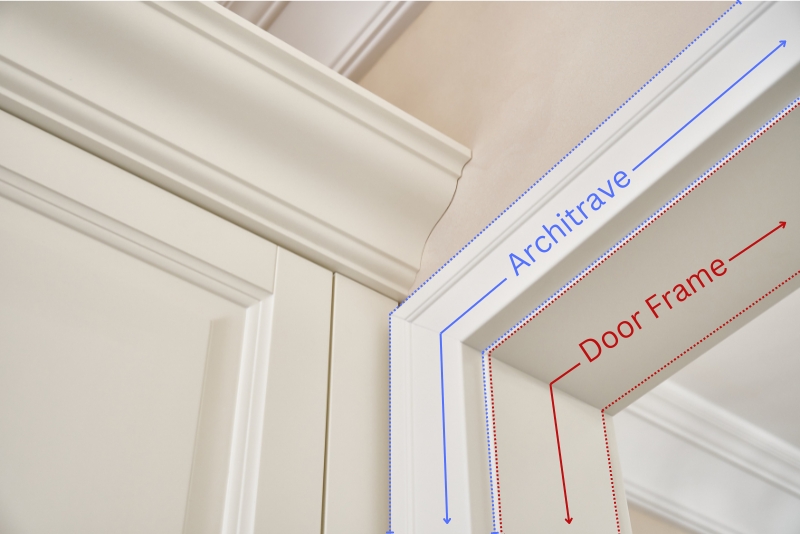
The simplest way to think about it: the door frame is the functional skeleton that makes the door work. The architrave is what makes it look finished.
Materials and options
There are several material choices, each suited to different situations:
| Material | Best for | Pros | Cons |
|---|---|---|---|
| MDF | Painted finishes | Smooth, consistent, affordable | Swells if wet, needs priming |
| Pine | Budget projects | Cheap, easy to work with | Knots show through paint, can warp |
| Hardwood | Natural/stained finishes | Beautiful grain, very durable | Expensive, harder to cut |
| PVC | Bathrooms, wet areas | Waterproof, low maintenance | Limited styles, can look plastic |
For most homes, MDF architrave is the practical choice. It gives you a perfectly smooth surface that takes paint well, and because it's an engineered board it stays stable over time, so your mitre joints are less likely to open up than they would with natural timber.
Finish options
When ordering MDF architrave, you'll typically choose from three finish levels:
Unprimed
Raw MDF with no finish applied. The cheapest option if you're happy to prime and paint on site. Needs at least one coat of primer before your top coat.
Primed
One layer of primer already applied. Saves a step and means you can go straight to undercoat and top coat once fitted.
Fully finished
Arrives pre-painted and ready to fit. No painting required at all, which saves time on larger projects where you're doing multiple doors.
If you're going with unprimed or primed MDF, make sure you use moisture-resistant MDF and prime any cut ends before fitting. Raw MDF edges absorb moisture and can swell.
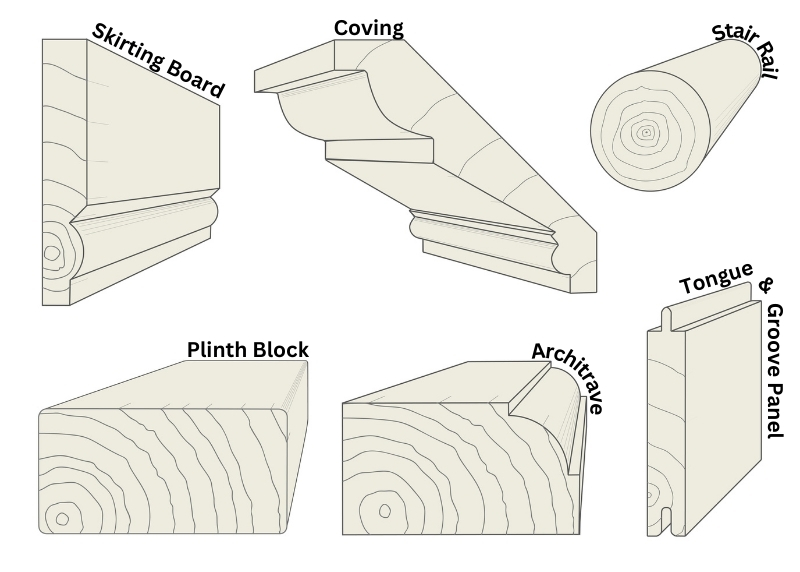
Popular styles and profiles
Architrave styles have evolved over centuries, with each era leaving its mark. These are the most common profiles you'll find in UK homes today:

Matching your home's era
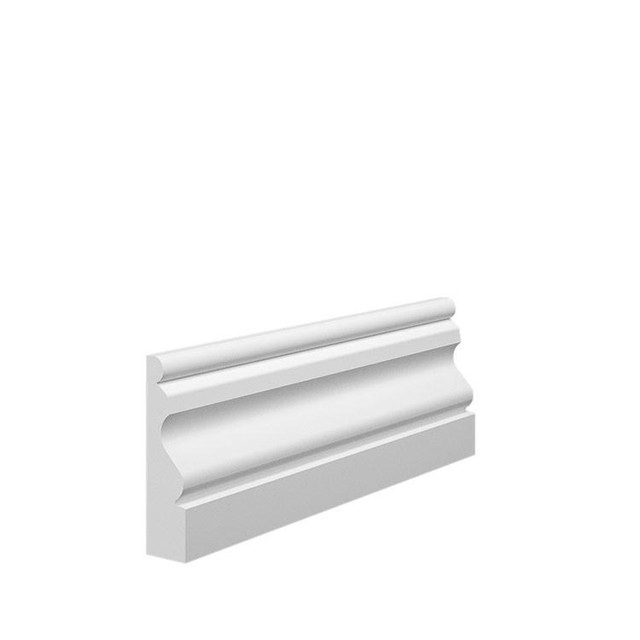
Victorian and Edwardian homes
Ogee, Torus, or 324 profiles have the period-appropriate curves that suit these properties. Wider widths (95mm or 120mm) also tend to look more proportionate with the taller ceilings and deeper skirting boards typical of this era.
1930s to 1960s homes
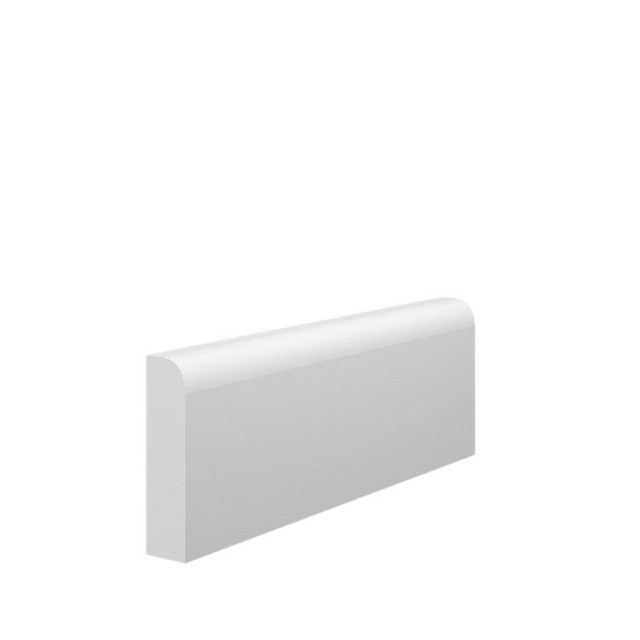
Simpler profiles like Bullnose or Chamfer work well. These homes originally had plain, functional architraves, so anything too ornate can look out of place.
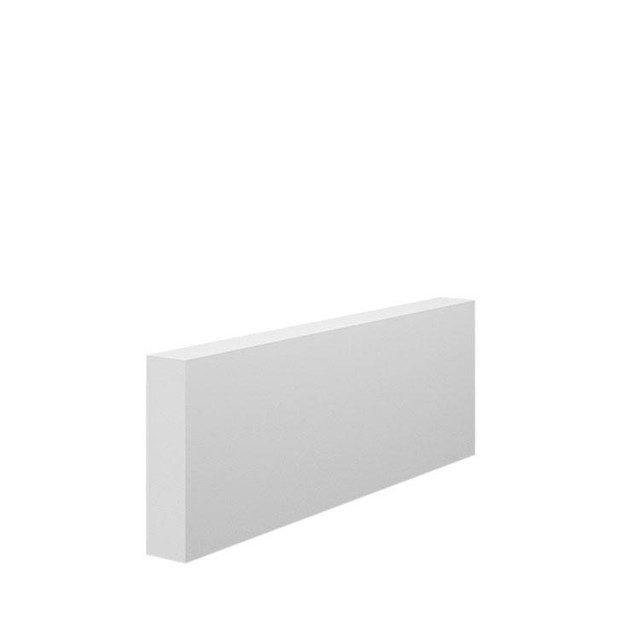
Modern homes
Square or minimal chamfer profiles keep things clean and contemporary. Some modern homes skip architrave entirely for flush door openings, though this requires very precise plastering.
Matching architrave to your skirting
Architrave and skirting boards meet at the bottom of every door opening, so they need to work together. The most important thing to get right is thickness.
Your skirting and architrave should be the same thickness. If they're different, you get an uneven step where they meet. The standard thickness in most UK homes is 18mm, but 15mm and 25mm are also common.
You don't need to use the same profile for both. It's perfectly normal to have a different architrave profile from your skirting, as long as they feel like they belong to the same style family. A Victorian Ogee skirting paired with a square-edge architrave would look odd, but Ogee skirting with Torus architrave works fine.
If your skirting and architrave do end up at different thicknesses, a plinth block can bridge the transition. Plinth blocks sit at the junction point where the skirting meets the architrave and create a clean visual break, so any difference in thickness or profile reads as intentional rather than a mistake.
As a general rule, wider architrave pairs better with taller skirting. A standard 70mm wide architrave suits skirting up to about 150mm tall. Once your skirting gets into the 170mm to 195mm range, 95mm architrave starts to look more proportionate. For skirting at 220mm and above, 120mm architrave is usually the right scale. Our architrave buying guide covers sizing in more detail.
Buying lengths vs sets
When ordering architrave, you'll choose between buying individual lengths or pre-calculated sets. Both work, but they suit different situations.
Lengths
Individual boards available from 2440mm up to 4200mm. You measure and cut them yourself to fit your doors.
Works best when:
Your doors are non-standard sizes
You're doing several doors and want to minimise waste
A longer board can cover one leg and the head of a standard door, so a 4.2m and a 2.4m board can do one full side more economically than a set
Sets
Pre-cut to cover one side of a standard doorway. Each set includes two legs and one head piece.
Works best when:
Your doors are standard UK sizes
You want to simplify the ordering process
You're less confident with measuring and cutting
One thing to keep in mind: a set covers one side of one door. If you need both sides covered (which you usually do), that's two sets per door. For double doors, you'll need double door sets or longer individual lengths.
If your doors are larger than the standard UK size, sets may not provide enough material and you'll need to go with lengths instead. It's always worth measuring your actual door openings before ordering rather than assuming they're standard.
Installation basics
Fitting architrave is a manageable DIY job, though getting neat mitre joints does take some practice. Here's the general process:
Mark your reveal. Set the architrave 6 to 8mm back from the inside edge of the door frame. This creates a shadow line and prevents the architrave from interfering with the door stop.
Cut the head piece first. Measure between the reveal marks at the top and cut 45-degree mitres at each end. The outer edge should be the longest.
Fit the head piece. Use panel pins or a nail gun. Punch the pins below the surface so you can fill them later.
Measure and cut the legs. Measure from the floor to the bottom edge of the head piece. Cut a 45-degree mitre at the top and a square cut at the bottom. Apply PVA glue to the mitre before fitting.
Fill and finish. Fill pin holes and any small gaps with decorator's caulk or wood filler. Sand smooth, then prime any bare MDF before painting.
Common mistakes
Most fitting problems come down to a few recurring issues: making the reveal too narrow so the architrave hits the door stop, cutting mitres in the wrong direction (always dry-fit before committing), not checking whether the wall is straight (you may need to pack behind the architrave in places), and forgetting to prime cut ends on MDF, which leads to uneven paint absorption.
If your walls aren't perfectly plumb, it's usually better to get the mitre joints meeting neatly at the corners even if the architrave isn't dead vertical. A slight deviation from vertical is far less noticeable than an open mitre.
Other uses for architrave
Doors are the most common application, but architrave works in other situations too:
Windows
Internal window frames benefit from architrave trim, particularly between rooms like a kitchen and dining area. Matching the profile to your door architrave ties the room together. Window boards pair well with matching architrave around the opening.
Loft hatches
A simple architrave around a loft hatch makes it look deliberate rather than just a hole in the ceiling. Much neater than leaving the raw plaster edge exposed.

Built-in cupboards
Wardrobes and alcove cupboards look more built-in when trimmed with architrave that matches your doors. It's the difference between something that looks fitted and something that looks added afterwards.
Architraves are one of those details that most people only notice when they're missing. They solve practical problems, cover imperfections, and quietly make every room look more finished. Getting the right profile, thickness, and material for your home doesn't need to be complicated, and the result is one of those small improvements that has a disproportionate effect on how a room feels.
We manufacture over 100 different architrave profiles at our workshop in Birmingham, from simple modern styles to detailed period designs. If you need help choosing the right one for your project, get in touch.
Related videos
The purpose of architraves
Architrave lengths and sets