
How To Paint Window Sills | The Expert Method | Moisture Proof
Posted by Skirting World on 16th Aug 2024
Painting window sills isn't just an aesthetic process; the method and type of paint you use will affect the moisture resistance and longevity of your window sills. This guide covers everything from preparation to finishing touches, with a focus on MDF (Medium-Density Fibreboard) sills.
Why Paint Your Window Sills?
Window sills, often overlooked, play a crucial role in your home's aesthetics and functionality. A fresh coat of paint can:
- ✔ Enhance the overall appearance of your room
- ✔ Protect the sill material from wear and tear
- ✔ Cover imperfections or previous damage
- ✔ Coordinate with your room's colour scheme
Choosing the Right Paint
The type of paint you choose depends on your window sill material. For MDF sills, which we specialise in at Skirting World, we recommend:
Water-Based Acrylic Paint
Quick-drying, low odour, and easy to clean up. Ideal for MDF as it doesn't cause the material to swell—may be more susceptible to moisture damage.
Oil-Based Paint
Durable and provides a smooth finish. However, it takes longer to dry and has a stronger odour—may be susceptible to yellowing.
Pro Tip:
For MDF window sills, always use a primer specifically designed for MDF before applying your chosen paint. This ensures better adhesion and a more professional finish.
Safety Precautions and Necessary Equipment
Before you begin, ensure you have the following safety equipment and tools:
- • Safety goggles and a dust mask
- • Rubber gloves
- • Drop cloths or old newspapers
- • Sandpaper (120 and 220 grit)
- • 2-inch brush and 4-inch foam rollers
- • Paint tray and stirring stick
Always work in a well-ventilated area and keep children and pets away from the work area.
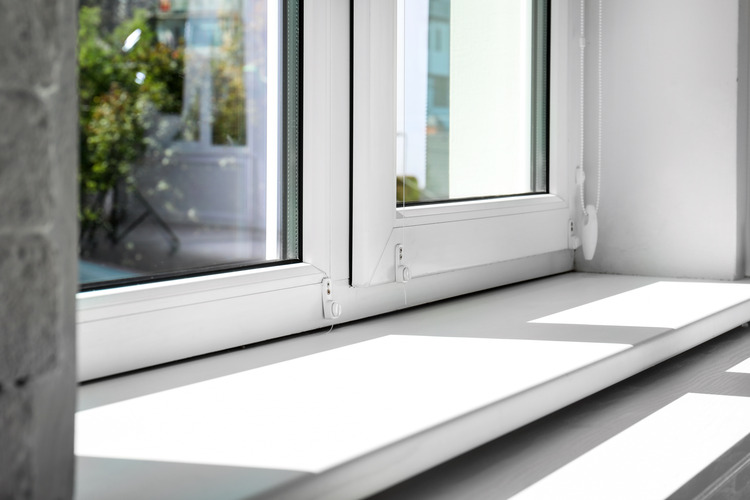
Step-by-Step Guide: Painting Your Window Sills
Painting your window sills can be a simple and rewarding task. Follow these steps to achieve a smooth, professional-looking finish on your MDF, PVC, or wood sills.
-
Prep the Area
- Remove Obstacles: Take down curtains, blinds, or any nearby decor to have full access to the window sill.
- Protect Surroundings: Lay down dust sheets or old newspapers to protect the floor and walls. Use masking tape to cover the edges of the window frame and any surfaces you don't want to paint. Press the tape firmly to avoid paint seeping underneath.
-
Clean the Sill
- Wipe Down the Surface: Use a damp cloth with mild detergent to clean the window sill, removing dirt, dust, and grime. For MDF, avoid soaking the material; a quick wipe is sufficient.
- Inspect for Damage: Check for cracks or imperfections. If you have wood sills, fill any cracks with wood filler and let it dry completely.
-
Sand the Surface
- Initial Sanding: If you're repainting, start with 120 grit sandpaper to smooth out rough areas or old paint. Be gentle, especially with MDF, to avoid damaging the surface.
- Fine Sanding: Follow up with 220 grit sandpaper to create a smooth surface that helps the primer and paint adhere better. Sand in the direction of the grain for wood sills to avoid scratches.
- Remove Dust: After sanding, remove dust particles with a tack cloth or vacuum.
-
Apply Primer
- Choose the Right Primer: Use a primer suitable for your material. MDF requires a specialized primer to seal the surface and prevent swelling. For PVC, a plastic primer ensures proper adhesion.
- Apply Evenly: Apply a thin, even coat of primer with a brush for the edges and a small foam roller for flat surfaces. Make sure the primer covers the entire surface.
- Drying Time: Allow the primer to dry completely, typically around 24 hours, before proceeding with painting.
-
Paint the Sill
- Prepare Your Paint: Stir the paint thoroughly, and pour a small amount into a paint tray.
- First Coat: Start by painting the edges with a 2-inch brush, then use a 4-inch foam roller for the flat areas. Apply a thin, even coat to avoid drips and brush marks. Work in small sections and maintain a wet edge for a smooth finish.
- Dry and Sand: Allow the first coat to dry completely (1-2 hours for water-based paint, 6-8 hours for oil-based paint). Lightly sand the first coat with 220 grit sandpaper to remove any imperfections, then wipe clean with a tack cloth.
- Second Coat: Apply the second coat in the same manner as the first. Two coats are usually sufficient, but if you're painting a lighter color over a darker one, you may need a third coat for full coverage.
Drying Times and Project Duration
Drying times can vary based on the type of paint and environmental conditions. Here's a general guide:
- • Primer: 1-2 hours between coats, 24 hours before painting
- • Water-based paint: 1-2 hours between coats, 24 hours for full cure
- • Oil-based paint: 6-8 hours between coats, 24-48 hours for full cure
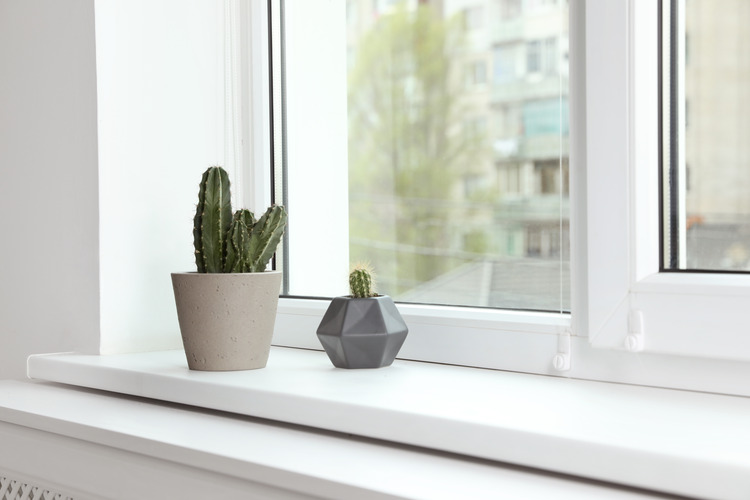
- • Curing Time: 7 days before placing items such as window sill decor or window sill plants on the sill
A typical window sill painting project can be completed over a weekend, allowing for proper drying times between coats.
Tips for Specific Challenges
Painting Around Window Hardware
If possible, remove any hardware before painting. If not:
- • Use painter's tape to protect the hardware
- • Use a small brush for precision around difficult areas
- • Consider using a paint shield or card for clean edges
Eco-Friendly Paint Options
For environmentally conscious homeowners, consider these eco-friendly paint options:
- • Low-VOC or Zero-VOC paints
- • Natural paints made from plant-based ingredients
- • Milk-based paints for a vintage look
These options reduce harmful emissions and are better for both your health and the environment—however, they may not be as easy to work with or as durable.
Common Mistakes to Avoid
Skipping Preparation
Proper cleaning and sanding are crucial for a smooth, long-lasting finish.
Overloading the Brush
This can lead to drips and an uneven finish. Apply thin, even coats for best results.
Maintaining Your Painted Window Sills
To keep your newly painted window sills looking fresh:
- • Clean regularly with a soft, damp cloth
- • Avoid placing sharp or heavy objects directly on the sill
- • Touch up any chips or scratches promptly to prevent further damage
Why Choose MDF Window Sills?
At Skirting World, we specialise in MDF window boards and sills. Here's why they're an excellent choice:
- ✔ Cost-effective compared to solid wood
- ✔ Smooth surface ideal for painting
- ✔ Resistant to warping and cracking
- ✔ Easy to install and maintain

Frequently Asked Questions
Q: Can I paint over old paint on my window sill?
A: Yes, but ensure the old paint is in good condition. Sand it lightly and clean thoroughly before applying a new coat.
Q: How often should I repaint my window sills?
A: This depends on wear and tear, but generally every 3-5 years is recommended to maintain appearance and protection.
Q: Is it necessary to use a primer on MDF window sills?
A: Yes, primer is crucial for MDF. It seals the surface, prevents swelling, and ensures better paint adhesion.
Conclusion
Painting your window sills is a simple yet effective way to elevate your interior design. With the right preparation, materials, and technique, you can achieve a professional finish that will last for years. Remember, if you're looking for high-quality MDF window sills or need expert advice, Skirting World is here to help.
Bespoke Window Sills
If you're in need of a specific size or shape of window sill, reach out to our in-house design team with your specifications at info@skirtingworld.co.uk
Contact Us