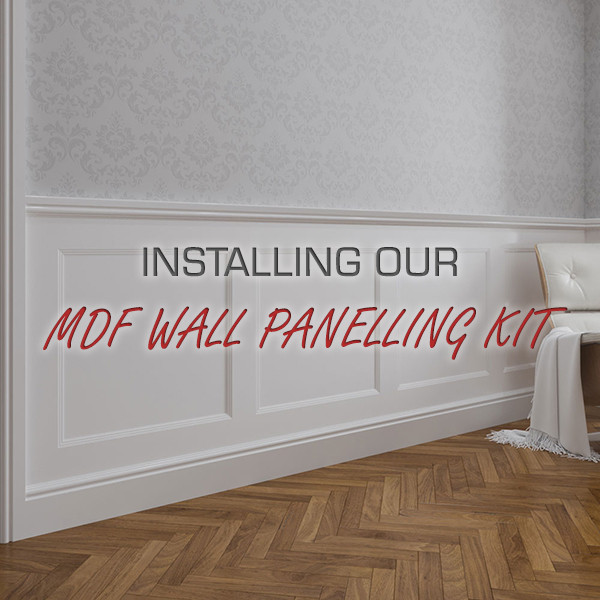
How To Install Our MDF Wall Panelling Kit
Posted by Lee Watkinson on 2nd Aug 2022
In this guide, we're going to show you how to install the MDF Wall Panelling Kit that we manufacture and sell right here at Skirting World!
This wall panelling kit, plus many more, can also be purchased over at Wall Panels World.
About The MDF Wall Panelling Kit
Before we walk you through the process, we're going to quickly cover what the kit can be used for and what exactly is included when you purchase it.
What Is It Used For?
Its main purpose is to create a panelled effect on the walls in your home.
It's a more traditional style finish that gives off a grand and bold aesthetic (see our square wall panelling lengths for a modern style).
Is It All In One Piece?
We often get asked whether the kit is an all-in-one piece that is fixed straight to the wall. Unfortunately, this is not the case.
The kit is made up of individual lengths that are cut and mitred on site before being individually adhered to the wall to create the finished panelled effect. You can see an exploded view of the kit below to get an idea of how it comes.
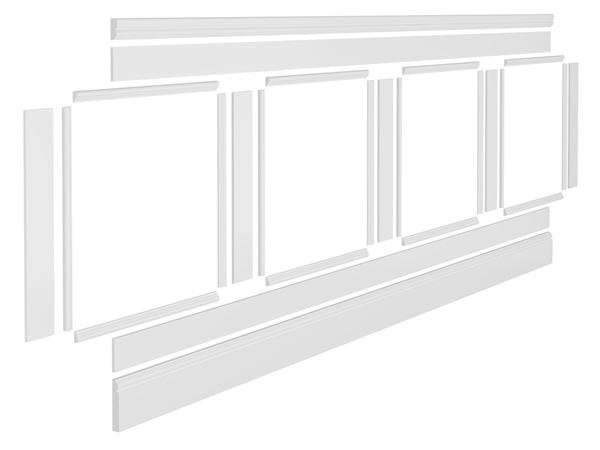
Don't worry - it's much easier than it sounds, especially if you follow this guide.
How Much Do I Need To Order?
Each kit you order will cover 2.8 metres in length when installed as described in this article (also explained on the product page).
Now you know this, you need to measure the length of the wall (or walls) that you wish to panel.
Let's say you have 2 walls - 1 is 4.3 metres in length and the other is 2.7 metres in length. That gives us a total of 7 metres.
So a simple calculation will give you the number of kits required to complete your project:
| Total meterage divided by kit meterage | (7 / 2.8) |
And the answer we get is 2.5 so therefore, you'd need to order 3 of the kits to have enough material to cover your walls.
Hopefully this makes sense but if not, feel free to get in touch with us and we can help you work it out!
What If I Want To Fit It Differently?
You don't have to fit it the way we do.
For instance, you could change the overall height of the panelling or adjust the size and quantity of squares within the panelling. You're free to fit the kit in whichever way you wish.
However, we state that the kit covers 2.8 metres when you fit it as we do. If you fit it differently, be prepared to order more material should it cause you to fall short.
What's Included?
When you buy one of our kits, you have to choose a selection from the following dropdown boxes:
- MDF Skirting Board Design
- MDF Dado Rail Design
- MDF Panel Moulding Design
- MDF Square Panelling
- Finish
Let's quickly run through these options so you get a feel for what you'd need to order for your own panelling project:
MDF Skirting Board Design
This is the first selection you will make.
Because you may already have skirting boards fitted, you have the choice to select 'No Skirting Board Required'.
If you do need it, choose from one of the 10 available designs (if you want a different design, let us know as we can accommodate this).
MDF Dado Rail Design
This is the second selection you will make.
Again, like the skirting option, you can select 'No Dado Rail Required' if you already have some fitted on the wall that you're panelling.
If you would like it included with the kit, choose one from the available dado rail designs (if you've chosen skirting, most customers will choose the matching dado).
MDF Panel Moulding Design
You have 2 options to choose from here - the 324 or Inset design.
The 324 panel moulding will stand proud of the square panelling because it is thicker. This makes for a bolder statement and works well if you've chosen 324 for the skirting and / or dado rail.
The Inset panel moulding will sit flush with the square panelling because it is the same thickness. This makes it a more subtle transition from the panelling to the square.
MDF Square Panelling
This one's required and there's just a single choice.
With each kit, you get 3 lengths of square panelling in the size 95mm x 9mm x 3050mm.
Finish
Finally, you select a finish.
Choose unprimed to receive raw MDF.
Choose primed to receive the kit with a single coat of primer (will require sanding and undercoating before applying your final finish).
Choose undercoated to receive the kit with a coat of primer and an undercoat (ready for you to apply your final finish).
Choose matt grey for a finished grey panelling kit.
Wall Panelling Kit Installation Guide
So now you're ready to start fitting! This guide includes steps for the full kit. If you don't order skirting and dado, simply skip these steps and focus on the square panelling and panel moulding sections.
We find it easiest to fit when starting at the bottom and working your way up the wall.
For the purpose of this guide, the end result will be as pictured on the product page. This example is based on panelling a straight wall. Remember, you can change some of these to suit your walls but the coverage may vary if you do this.
1. Fit The Skirting
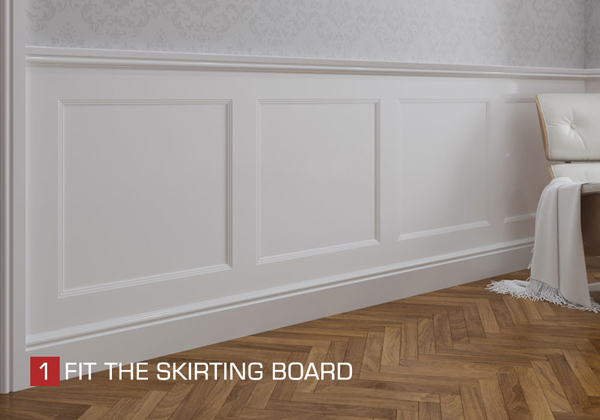
First up is the skirting board. Fitting this gives you a base on which to fit the square panelling.
Because we're fitting this in the way that it is intended based on our images, the skirting should be cut to 2875mm in length.
Once you're happy, go ahead and fix it to the wall with the preferred fixings.
Note: this method involves using the skirting board as a base for the rest of the panelling. Therefore, ensure that the skirting is fixed level so that the panelling runs level across the wall. If your floors are slightly out, make the necessary adjustments to the skirting.
For a more detailed walkthrough of step 1, check out our comprehensive guide to fitting skirting boards.
2. Fit The Bottom Square Panelling Length
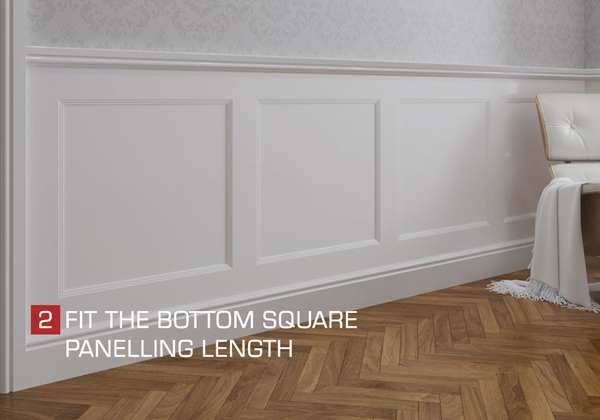
Now that the skirting board is in place, you can simply fit the first part of the square panelling.
You will need to cut this length to 2875mm so it sits flush with the skirting.
This length sits on the top edge of the skirting so it's as easy as popping it into place and fixing it.
3. Fit The Upright Square Panelling Lengths
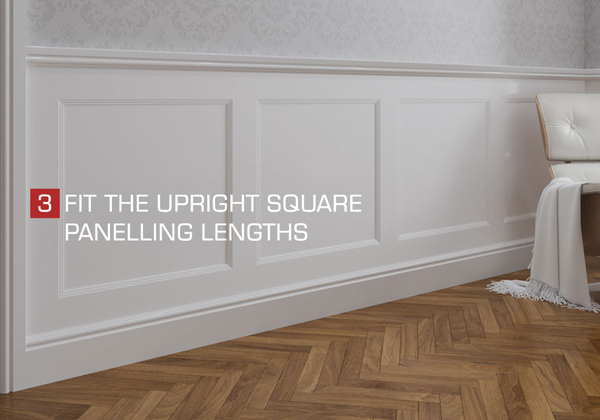
In one kit, one of these lengths will be cut into 5 pieces that are 600mm long.
Place the first length vertically at the very start of the panelled section (where the length from step 2 starts).
Once this is in place, simply measure 600mm in whichever direction the panelling is going and mark this point.
This point is where the next vertical piece will sit (there should be 600mm between the 2 vertical pieces).
Fix the second piece in place and then repeat until the remaining vertical lengths are fixed into place.
4. Fit The Top Square Panelling Length
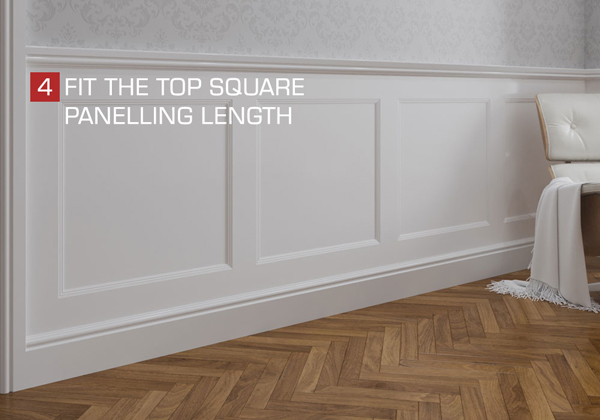
This step is almost exactly the same as step 2.
The only difference is that instead of sitting on top of the skirting board, this length sits on top of the vertical lengths you fitted in step 3.
Again, cut this length to 2875mm and simply place it on top and fix it into place!
You'll now be able to see the squares are formed and ready for the panel moulding to sit along the inner edges and give it the decorative finish.
5. Fit The Dado Rail
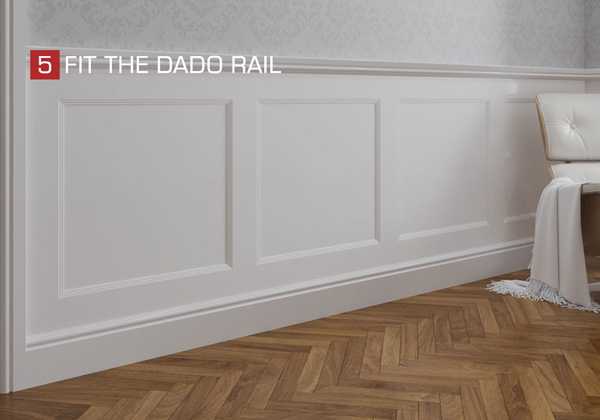
Before we add the panel moulding to the squares, here's another nice and easy step - we told you this would be a breeze!
Now that the top square panelling length is in place, you have an edge on which to sit the dado rail.
This will also need to be cut to 2875mm so that it fits the panelled area.
Once cut, simply sit the thinnest edge of the dado rail on the top of the square length you fixed into place in step 4.
Once you're happy with the fit, fix it into place!
6. Fit The Panel Moulding
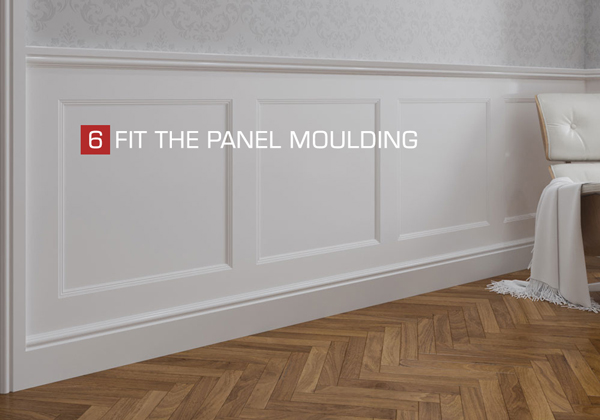
This is the trickiest step just because it involves mitres.
You should have 4 lengths of your chosen panel mould - each one needs to be cut into 4 pieces measuring 600mm in length.
Once they're all cut to size, you can go ahead and mitre them. In the images below, you'll see the direction in which to mitre each end of each length.
The mitre should be at 45 degrees so that they all fit flush against each other inside the square panelling.
Bear in mind that the thickest edge of the panel moulding will sit against the square panelling.
Now you can simply push the panel moulding into place and fix it! Repeat until the inside edge of each square is covered.
You Just Installed Wall Panelling!
And that's all there is to it - sit down and relax you DIY superstar!
All that's left is to paint it to tie it in with the rest of your interior.
If you have any questions regarding the wall panelling kits and installing them, you can still reach out to us and we'll advise as best as we can.
But no matter how or where you're installing it, this guide should point you in the right direction.

Lee Watkinson
Digital Marketing Director at Skirting World with 10 years of experience in Home Interiors & Manufacturing.


