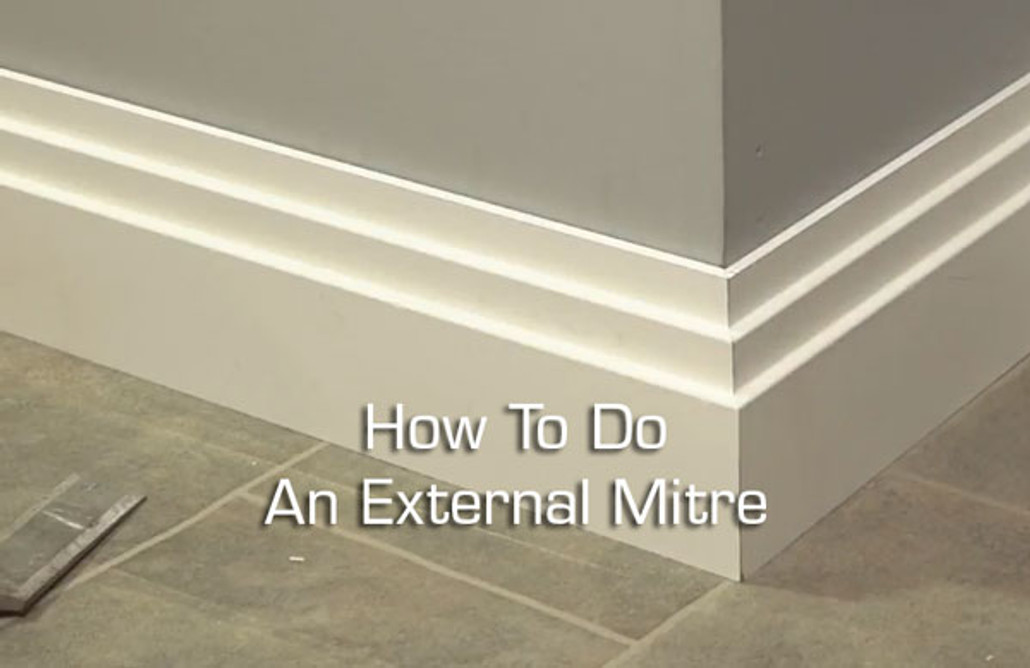
How To Do An External Mitre On Skirting Boards
Posted by Lee Watkinson on 5th Sep 2018
How To Do An External Mitre On Skirting Boards
External Mitres are very handy when it comes to joining up your skirting boards. Joining your skirting boards to adjacent skirting is very important and allows the room to flow and look tidy too.
There’s nothing worse than having your new skirting ruined by a poor or rough joining job.
Of course, unlike internal mitres, external mitres are on the outside of a wall, rather than the inside of one. So in today’s blog, we are going to talk you through how to do an external mitre on skirting boards.
Before you begin, here are the tools & materials you’ll need to get the job done:
| Tools & Materials Needed |
| Skirting Boards |
| Chopsaw / Mitre Block |
| Hand Saw |
| Adhesive |
| Packers (used to level the skirting) |
| Tape Measure |
| Pencil |
| Sandpaper |
| Brush |
Getting Started:
Step 1 – Clean The Area Before Fitting
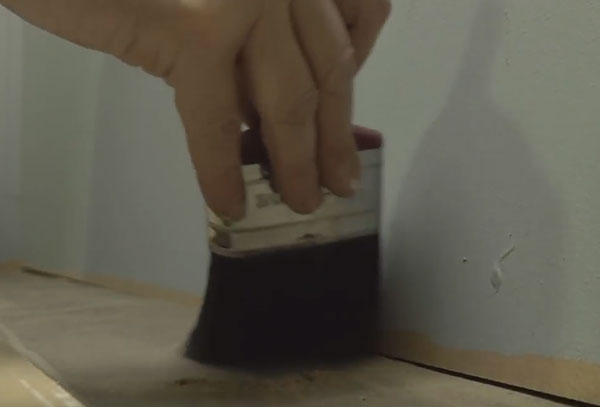
Before starting, make sure the area you intend you fit the skirting boards to is nice and clean. If you see any dirt or debris within the area or even dust, grab a brush and start removing them until the area is clean.
We do this because the dust or debris can cause the skirting to rise higher off the floor, not to mention when trying to stick it down with adhesive later, it will not be as effective otherwise.
Step 2 – Mark & Cut Skirting Board
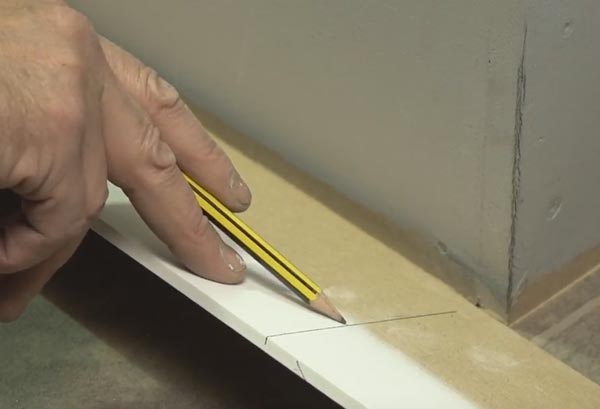
Before you cut the skirting board, first measure the walls to see how long they are. Once satisfied, mark the first skirting board and have the markings close to the left-hand side of the skirting.
Then using a Chopsaw or handsaw combined with a mitre block, have the skirting board facing you and cut the end at a 45° degree angle.
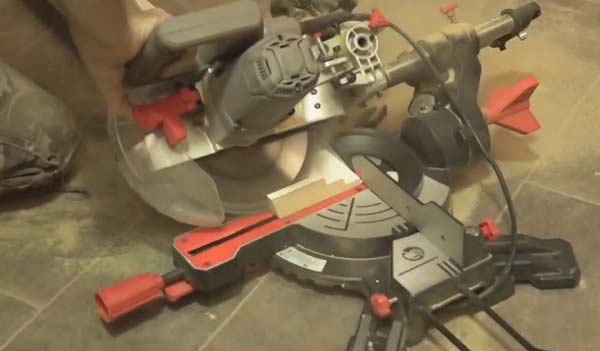
However, unlike the internal mitre, make sure you cut it on the outside, rather than inside of the skirting board. In other words, the opposite of the internal mitre.
Once done, then cut the skirting board to the size of the wall and make sure it fits.
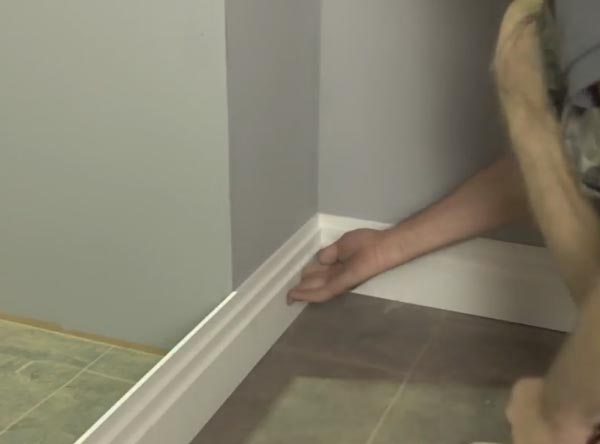
When you are satisfied, get the other skirting board and turn it around so the profile is facing away from you. Mark the spot and make sure to cut it at 45° degrees in the opposite direction.
Step 3 – Test The Mitre Joints
Next, using sandpaper, take the burr off the skirting boards (referring to smoothing the recently cut areas).
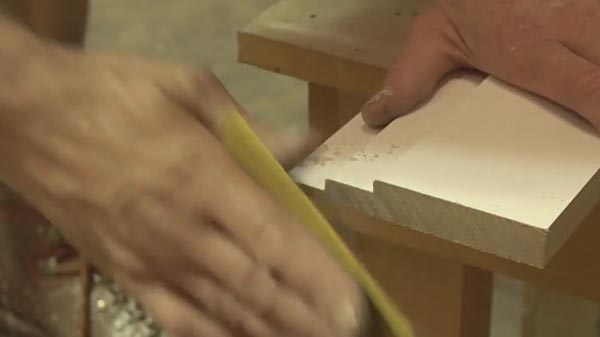
Test the mitre joints using dry fixing. Basically, this is just testing them without the glue applied.
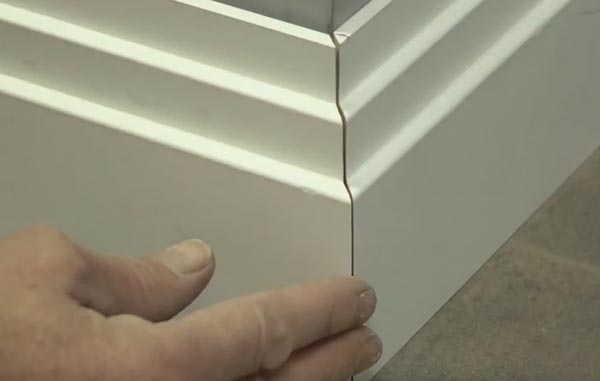
If it looks good, you can proceed to step 4. If it's off, repeat step 2 by marking and re-checking the mitre joints.
Step 4 – Stick The Skirting To The Wall
If the mitre joints are good, flip the skirting boards so you can see the back of them. Then, in a zig zag line, apply adhesive.
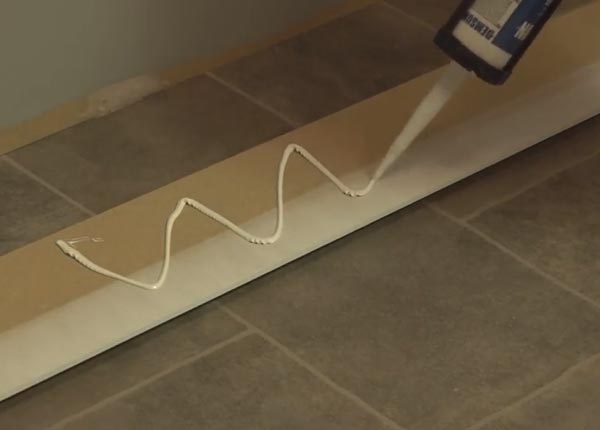
We do this in a zig zag line as this will help the glue to stick much better than using blobs of glue. It will also prevent gaps from appearing in the future.
Once done, grab the skirting boards and stick them one by one carefully on the walls. Use pressure to allow the skirting to stick properly on the wall.
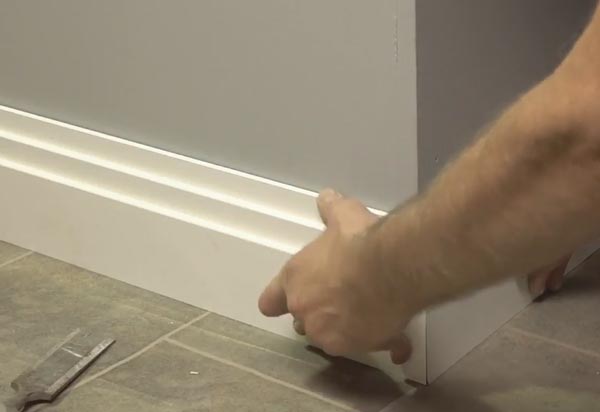
Once the two are stuck down and connected at the joint, let the glue set for a while.
Step 5 – Permanently Fix The Skirting
When the glue is set, you will then have to fix your skirting board to the wall. To do this, depending on the wall and the tools you have you’ll need:
Hammer & Nails
Pin Gun
Countersink & Screw
Masonry Bit
If you are fixing to a stud wall, the hammer and nails option is a cheap and easy way to go. Simply mark the hitting spot with a pencil, get the nail and hammer the nail into the skirting. Do this until the skirting is secure. A Pin gun is the same but is faster and won’t need as much effort.
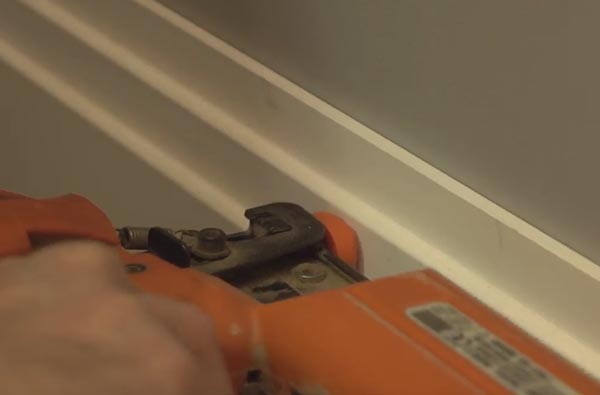
The other two methods are for brick walls. If you want to know how to fix skirtings in greater detail, watch our video, how to fix skirting on our YouTube page.
Summary
That is how to do an external mitre.
Make sure to mark the skirting properly so that the joints connect properly. Sand each end so that they're smooth and not rough. Finally, after sticking it down with adhesive, fix the skirting in place with whichever method suits the wall you are fixing to.
Now the walls should look much nicer with this joint along with the outside of your wall. Hopefully, this guide has helped you out and if you need more tips, check out our other blogs or videos for more guidance from us.
Otherwise, thank you for reading and see you next time.
-

Lee Watkinson
Digital Marketing Director at Skirting World with 10 years of experience in Home Interiors & Manufacturing.


