Shadow Gap Skirting | How To Create A Shadow Gap | Beading Plasterboard
Posted by Sultan Khan on 3rd Apr 2025
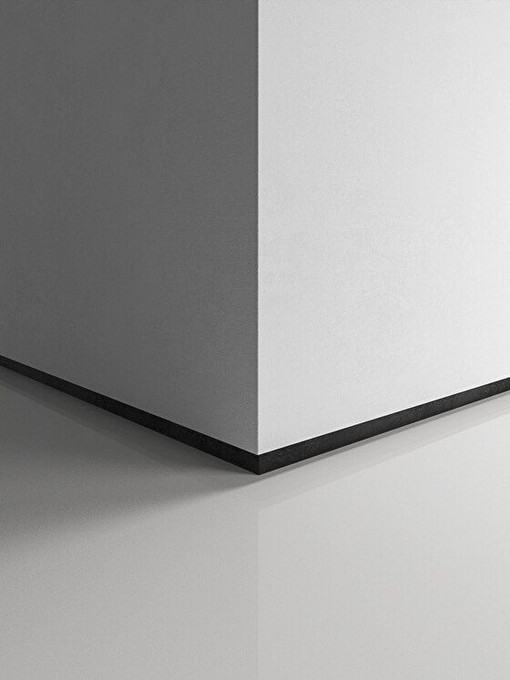
Conventional skirting boards can look boxy and outdated, making your home look old-fashioned. Shadow gap skirting is the new-age modern alternative to skirting boards, but depending on which type of shadow gap, creating the look can be an extremely difficult interior design project. Shadow gap beading, plasterboard, and shadow gap skirting profiles can all help to achieve the modern, sleek allure.
Explore Grooved Skirting Options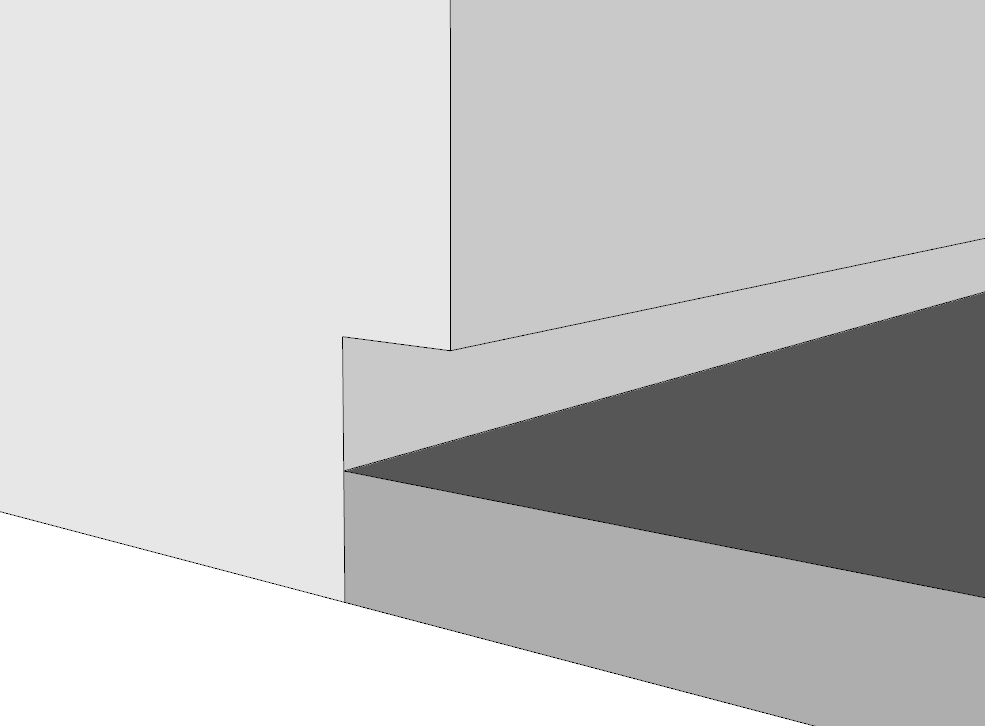
Shadow gaps are a popular interior design feature used to create a clean, minimalist aesthetic. As an alternative to traditional skirting boards, shadow gap skirting utilizes recesses at the bottom of walls to create subtle shadow lines. This minimalist look is often seen in contemporary and Scandinavian-style spaces.
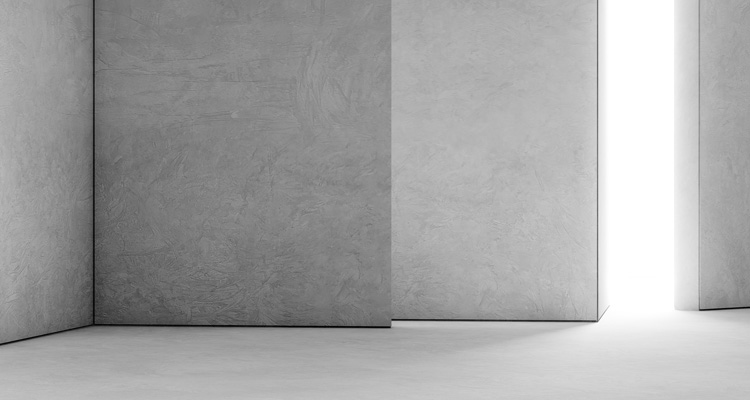
The concept behind shadow gaps is simple - a gap is left between the bottom of a wall and the floor. This recess creates a thin channel of shadow that outlines the base of the wall. Shadow gaps can range from very subtle to quite pronounced depending on the depth of the recess.
When used along the bottom edge of walls, these narrow gaps are referred to as shadow gap skirting. They provide a streamlined alternative to bulky skirting boards. The shadow line elegantly defines the wall edges without flashy trim details.
Shadow Gap Integrated Skirting Boards
Shadow gaps on skirting boards take the form of a recessed groove cut into traditional skirting trim as seen on the Grooved profile. This inset line parallels the floor, creating a two-tone effect on the skirting.
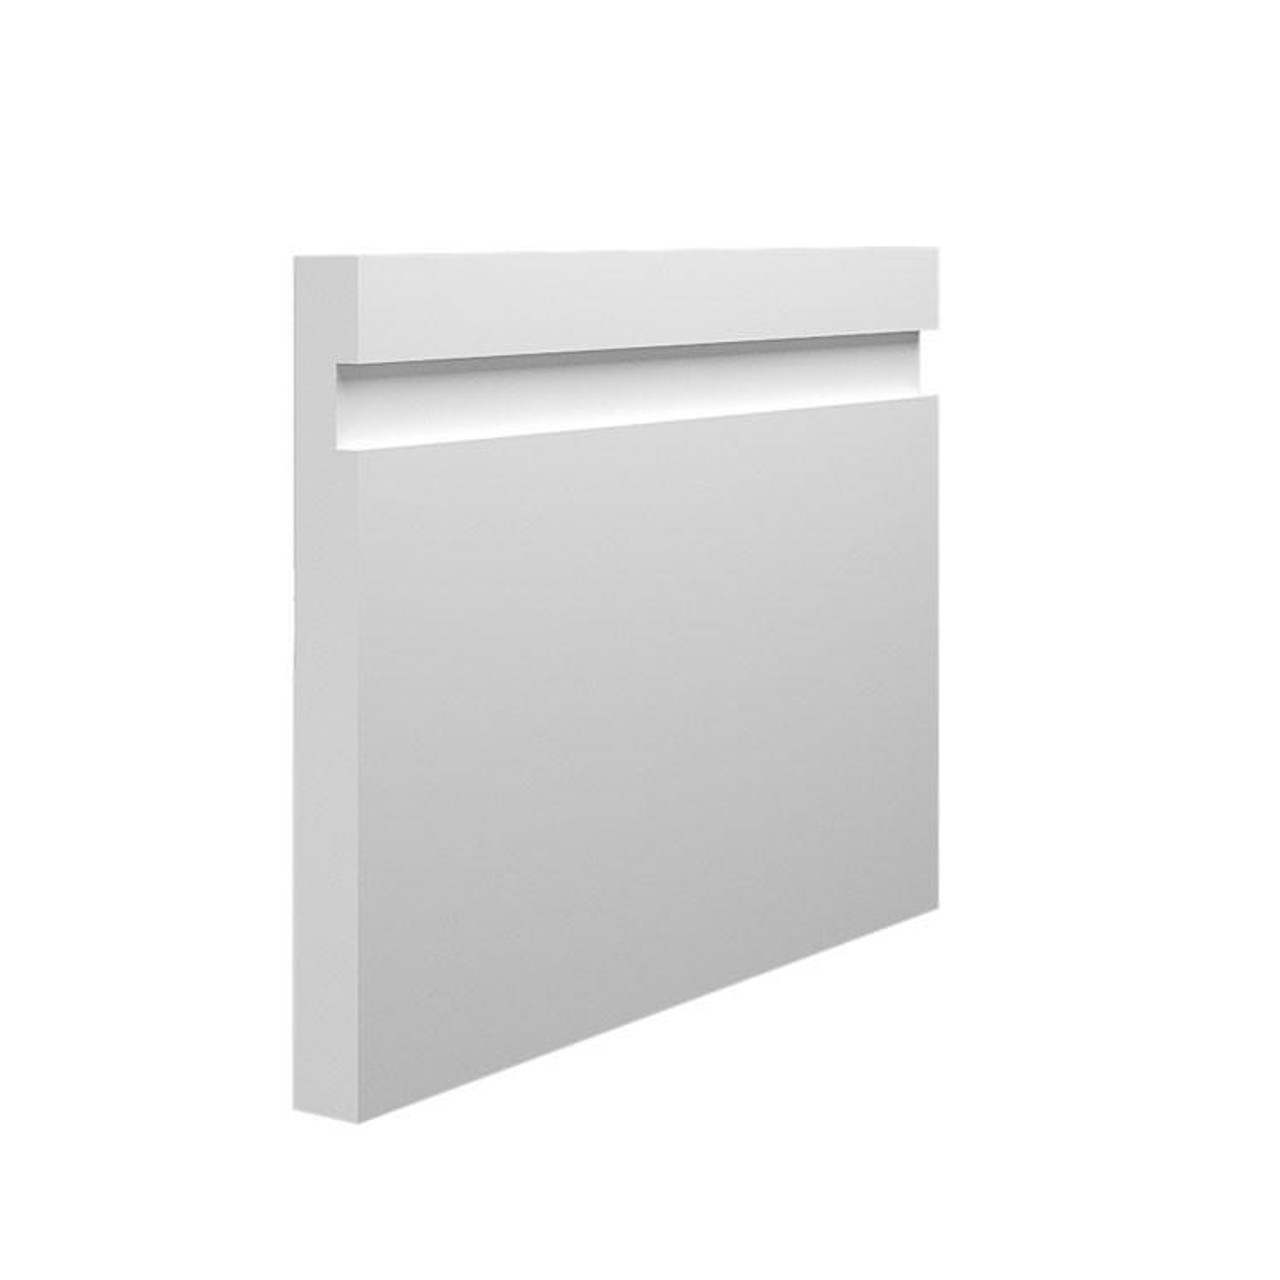
Whether placed directly against the floor or integrated into skirting boards, shadow gap skirting has become a distinguishing characteristic of pared-back interiors. The delicate shadow lines offer definition without visual clutter. When planned thoughtfully, this subtle detail brings an airy, unencumbered feel to modern spaces.
How To Create Shadow Gap Skirting
Creating a shadow gap directly along the bottom of walls requires careful planning and execution to achieve the desired aesthetic. And there are several approaches.
Shadow gaps are formed by creating a recess between the bottom of the wall and floor. The gap depth is typically cut into plasterboard which is layered on top of the wall. The common range is 20-10mm. Deeper gaps increase the shadow effect but require meticulous installation.

First, assess the space and determine how subtle or pronounced the shadow gap should be, typically a recess will be 10mm - 20mm deep and 10mm - 20mm tall.
You will then need to measure the room's perimeter, wall height and consider any flooring or pre-existing plaster to estimate material and labour needs and the scope of the work.
Building a shadow gap recess into a wall is typically performed by a professional and attempting a DIY project is not recommended due to the technicalities and skill level required.
The Process (Direct to floor shadow gap)
-
1
The wall is marked to indicate the position of the shadow gap. This is typically done using a spirit level and a pencil to draw a line 10-20mm high around the perimeter of the room.
-
2
The plasterboard is cut back to create a recess at the marked height, the depth should be equal to the thickness of the beading.
-
3
Galvanized metal shadow gap beading is cut to size using a saw.
-
4
The beading is fixed to the wall using screws and bonding agent/panel adhesive. The beading should be flush with the wall and level all the way around the room.
-
5
Plaster is applied over the beading and plasterboard and any gaps are filled.
-
6
The plaster is allowed to dry completely.
-
7
The plaster is sanded down smooth to create a neat and finished edge for the shadow gap.
-
8
The shadow gap can be painted black to accentuate the effect, or a gloss white if it intends to house LED strips, the gloss finish will help bounce light around, or alternatively a matte white for diffused lighting.
Once the process is complete, there will be a recess in the wall that is the same depth as the beading. This recess can then be used to create a variety of different effects, such as floating walls, hidden lighting, or simply to add a modern and stylish touch to the décor.
Achieving precise shadow gaps demands an experienced professional and specialized tools. Any small defects will be visible and can become pronounced over time.
Transitions between floor finishes also require finesse. Professionals have specialized tools like recess cutters, vacuum lifters, and edge trimmers.
The typical timeframe is 2-5 days depending on room size. Installation costs range from £400-1500+ for labour alone. The impact it has on rooms can make the investment worthwhile.
Different Types Of Shadow Gap Skirting
There are a few different ways to incorporate shadow gaps along the bottom of walls:
Direct to Floor
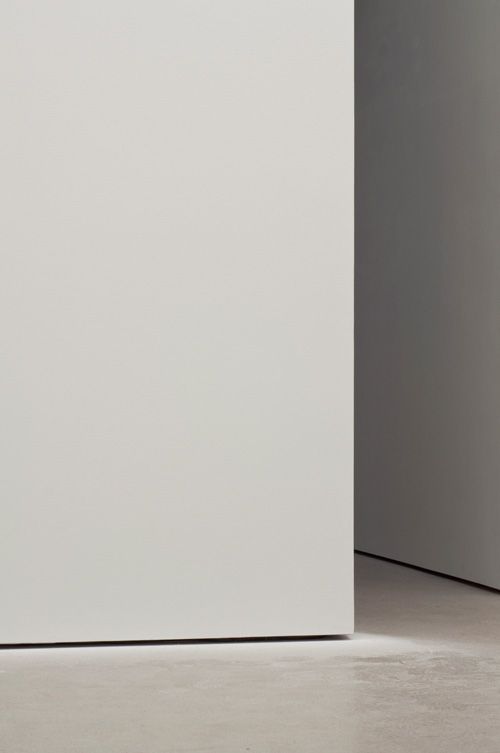
As described above, for a seamless minimalist look, the shadow gap can be installed flush along the floor. This entails cutting a precise recess into the bottom edge of the drywall or plasterboard and formed by L-shaped galvanized metal beading. The gap reveals a thin sliver of flooring material or foundation. The result is clean, uninterrupted lines free of trim details.
Above Skirting
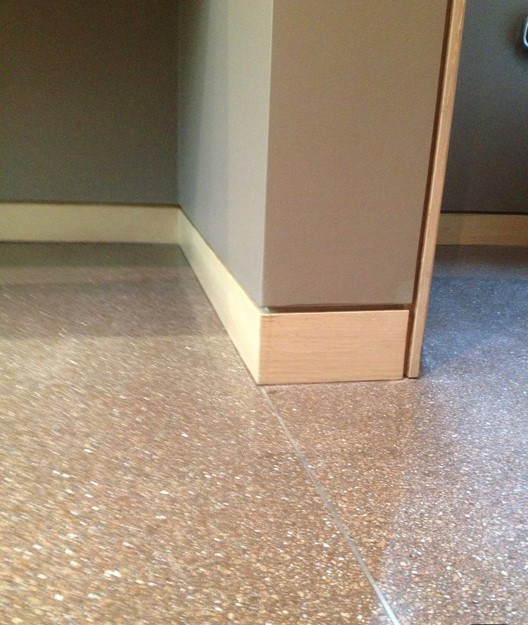
You can also install a standard skirting board first, then create a shadow gap along the wall above it. This leaves a subtle recess between the skirting top and wall bottom. The trim molding frames the gap for a refined look.
Shadow Gap Integrated Skirting Boards
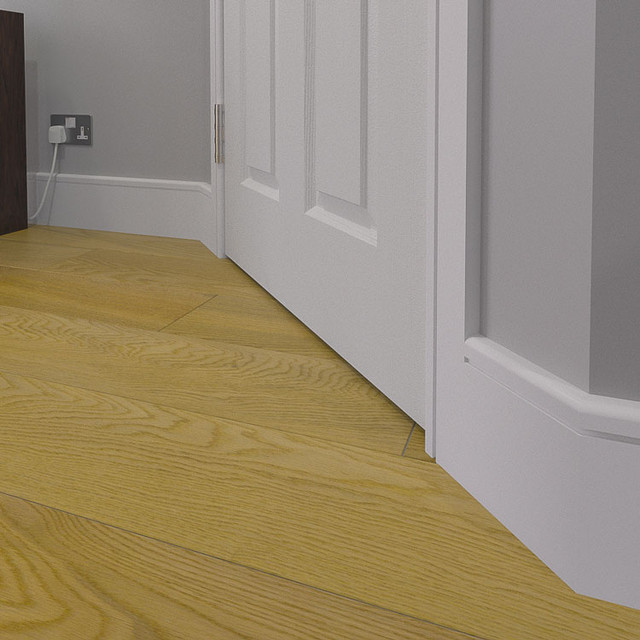
Many manufacturers offer skirting board profiles with a pre-cut groove running horizontally along the bottom or top edge. Installing this type of grooved skirting creates an integrated shadow line. The skirting provides decoration while the shadow gap offers a modern detail.
Maintaining Your Shadow Gap
Once installed, shadow gap skirting requires some occasional maintenance to keep its refined look:
- Keep lines and corners free of dust buildup. Use a soft brush or vacuum crevice tool to gently clean.
- If the wall or skirting sustain damage, carefully patch and sand affected areas, matching the existing recess depth.
- Over time, repaint the shadow gap to renew the dark recess and crisp edges. Use painter's tape for clean results.
- Shadow gap skirting in high foot traffic areas is more prone to damage, and the plaster on the corners can chip away when contact is made.
With proper care, shadow gap skirting can maintain its minimalist impact for years. Perform occasional touch-ups to keep the recess crisp and sleek.
The Pros and Cons of Shadow Gap Skirting
Shadow gap skirting offers some distinct advantages but also has a few drawbacks to consider:
Pros of shadow gap skirting:
- Creates a contemporary, minimalist look popular in modern interiors
- Clean lines and subtle shadow effects appear light and airy
- Eliminates bulky trim details for a streamlined aesthetic
Cons of shadow gap skirting:
- Challenging installation that requires precision and expertise
- More visible dust and harder to clean than traditional skirting
- Not suitable for rooms with moisture issues or that need impact protection
Shadow Gap Alternatives
If the complexity of installing shadow gaps is unappealing, there are a few simpler alternatives to achieve a similar modern, minimalist look:
Painted Accent Lines
Consider painting a thin accent line in a contrasting colour along the wall where skirting boards would traditionally go. This creates a subtle two-tone effect for definition. For sharper edges, use painter's tape.
Floating Shelves
For bedrooms, consider floating shelves fixed a few inches above the floor. This opens up the wall space and gives a lightweight, streamlined appearance. The floating shelves remove the need for cutting into the plaster wall or carrying out major work to the walls, as the shelves are fixed on top of your existing wall.
Tile Shadow Gap
For bathrooms and wet rooms, installing tile on walls and leaving a recess at the bottom is a simple approach to achieving a shadow gap. Use tile trim pieces or metal strips to create a clean edge along the bottom. Grout and seal as normal. Consider using contrasting grout colours in the recess to accentuate the shadow line.
As skirting board covers are designed to fit over existing skirting boards, it's crucial they're correctly sized.
Select a cover that is taller and deeper than your current skirting to ensure proper coverage and a clean finish.
Next Steps For Shadow Gap Skirting
If you're interested in incorporating shadow gaps into your home, here are some next steps:
Find Experienced Contractors
- Search for contractors specifically experienced in shadow gap installation - this specialized skill is a must.
- Ask to see examples of previous shadow gap work and read reviews.
- Get quotes from 2-3 potential contractors outlining the full scope of work.
Plan Your Design
- Decide which shadow gap style and locations make sense for your home aesthetic and lifestyle.
- Account for factors like moisture, wall material, transitions, foot traffic, and lighting intentions.
- Sketch out plans and dimensions to share with your contractor.
Shadow Gaps in Architecture
While shadow gaps may seem like a contemporary trend, examples can be found throughout architectural history. Master builders have long utilized the interplay of light and shadow for dramatic effect.
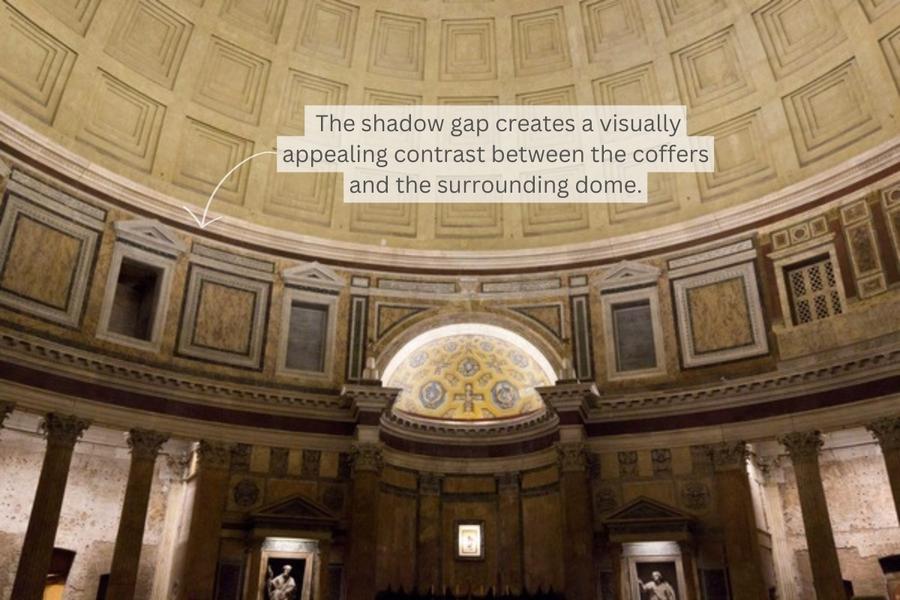
The ancient Roman Pantheon, completed around 125 AD, features recessed square coffers in its massive concrete dome. These sunken panels create a decorative grid pattern through the contrast of shadowed reveals and smooth, illuminated surfaces.
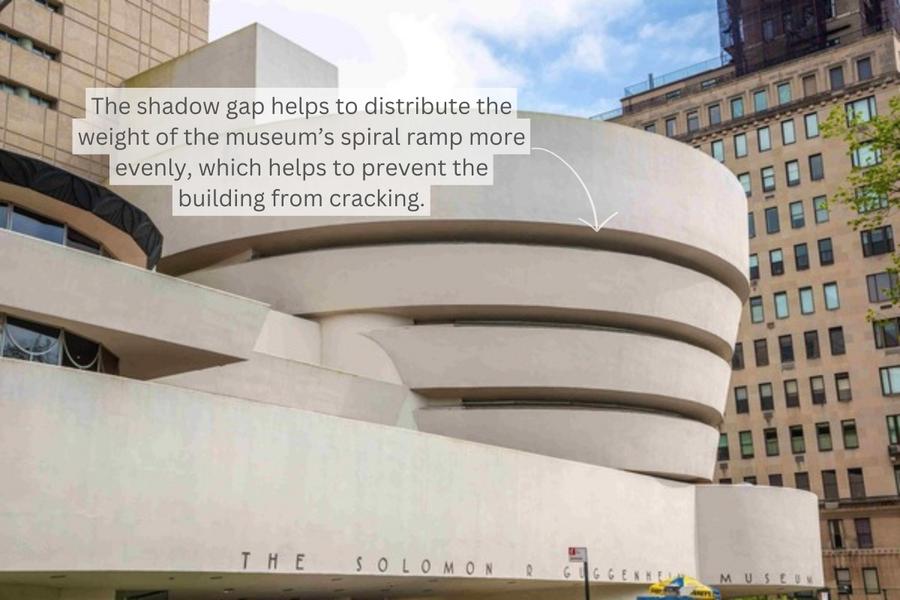
The Solomon R. Guggenheim Museum in New York, designed by Frank Lloyd Wright and completed in 1959, makes bold use of shadow gaps. The entire exterior facade consists of convex, concave bands that recede at different depths into the reinforced concrete. The resulting shadow lines lend visual texture and an illusion of upward movement.
Frequently Asked Questions
What is a shadow gap?
What is a shadow gap door frame?
What is a shadow gap in the ceiling?
What is shadow gap skirting?
Can you have a shadow gap on stair walls?
Related Products
Consider Shadow Gap Skirting for Your Modern Interior
Shadow gap skirting represents a refined, architectural approach to wall-to-floor transitions. Its clean, minimalist profile creates an elegant detail that enhances contemporary interiors without the visual weight of traditional skirting boards.
While direct-to-floor shadow gaps require professional installation and careful planning, alternatives like our Grooved skirting profiles offer a similar aesthetic with simpler implementation and better durability.
Whether you choose an integrated shadow line or a full shadow gap installation, this design detail can transform your space with its understated elegance and contemporary character.
Ready for a Modern Look?
Explore our range of modern skirting options including shadow gap profiles that combine contemporary styling with practical functionality.

