Sanding Skirting Boards - A How To Guide
Posted by Lee Watkinson on 2nd May 2019
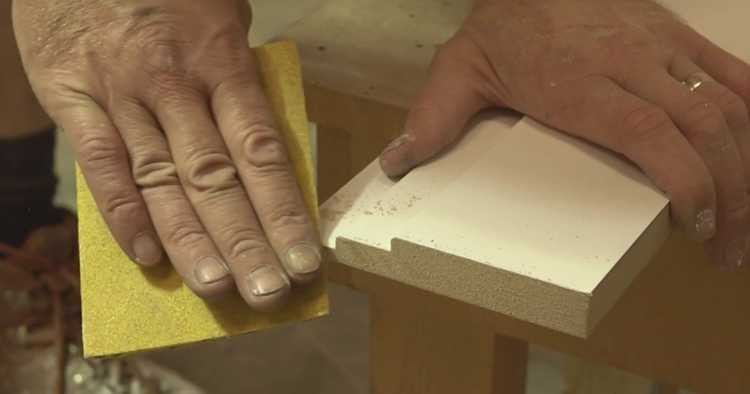
When installing skirting, sanding skirting boards may well be a part of the process. It can greatly affect the look that is achieved when you're all finished.
You can talk to many a carpenter and get varying tips and tricks on how to sand skirting boards. We've written this post to cover everything you need to know!
Why Should You Sand Skirting Boards?
If you're applying a new finish to existing skirting boards, you'll need to sand them down beforehand.
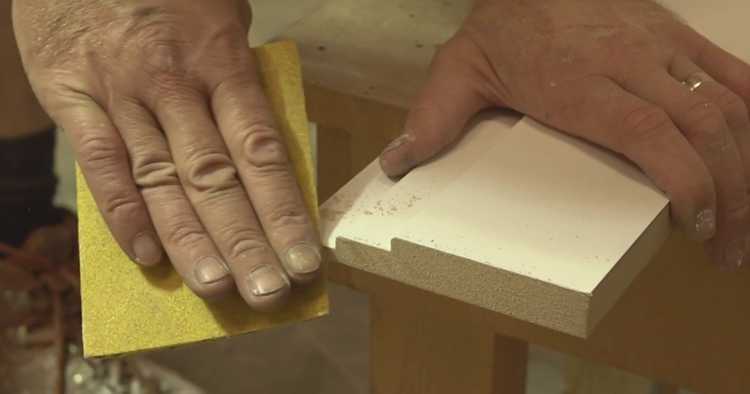
This process ensures that any paint and other impurities that are present on the skirtings are removed. You will essentially be stripping back the boards to their original state so that they are ready to be finished again.
Sanding the skirting boards also gives the new finish a strong surface to adhere to. This will result in a much higher quality finish once complete and can also save you time and money in the long run.
Do You Need To Sand Down Skirting Boards?
As stated above, if you're working with old skirting boards you will have to sand them down.
However, what if you've purchased brand new skirtings? If they're pre-finished, you can normally get away with installing them straight away.
You can also buy primed skirting boards. This is a finish that enables the skirting boards to be painted straight away.
Here at Skirting World, we pride ourselves on our primed finish. If you buy from us and choose the primed option, you won't need to sand them down before applying your final finish.
But be wary - not all suppliers offer a primed finish that is ready straight away.
How Do You Sand Skirting Boards?
We've discussed why you should sand skirting boards down and if it's necessary. Now we'll move on to the actual process.
What You Need
Here's a quick list of items that are needed to start sanding down:
- Skirting Boards (new or existing)
- Sandpaper or Electric Sander
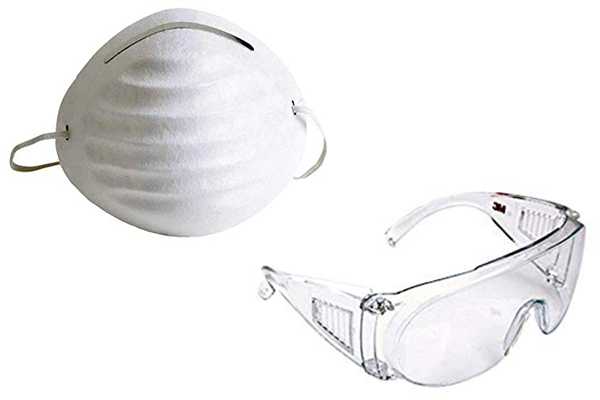
- Dust Mask
- Eye Protection
- Tressel (or alternative surface to lay the skirtings on)
Note that you may not need a Tressel if it's existing skirting boards that you're sanding down as these will most likely still be fitted to the walls!
The Process
- Clear the area - First off, you'll want to ensure that you prepare the room where you'll be sanding the skirting. Start by removing any furniture that could stop you from moving freely around the entire length of the board. It will also prevent the furniture from getting covered in dust as sanding produces quite a lot of this!
- Use the appropriate apparel - Before you start, obviously make sure you're not wearing your best clothing! Ideally, you would also wear a dust mask and eye protection due to the dust that sanding creates. This protects you from any harm the dust may otherwise cause to your eyes and lungs. Another tip would be to make sure the room is well ventilated - keep the windows and doors open where possible.
- Sand down the skirting boards - Using sandpaper or an electric sander, you can now start the sanding process. With whichever you choose, sand the skirting boards down until the surface is smooth. If you're not sure whether the surface is smooth once you've sanded it, simply (but carefully - just in case) run your hand across the surface. This will help you to identify any rough edges that you may have missed. If you've got quite an intricate design, it may take longer to sand down as you'll need to get in between all of the nooks and crannies. Once you've finished, allow the dust to settle before wiping down the skirting and removing excess dust. After this, you'll be ready to apply your undercoat or any other finish!
Should I Use Sand Paper Or An Electric Sander?
There's no right or wrong answer here - both will do the job. However, depending on the type and size of skirting you have one may be better than the other.
Using Sand Paper
Sandpaper has a smooth side and a rough / coarse side. The rough side is used against the surface you are sanding down.
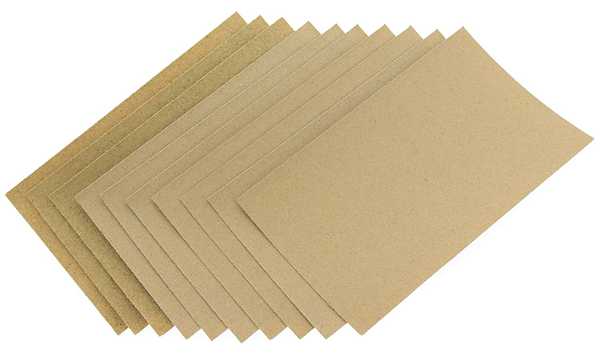
It's available in many different grit numbers each used based on the material being sanded and the finish required. If you're stripping down years of paint, a lower grit number (40 - 60 grit) will work best at first.
If you're just making the surface smooth, a higher grit number (80 - 120 grit) will give the best results.
For the best finish, it is recommended to use a lower number grit sandpaper and work up to a higher grit.
Although this will be a more time and energy consuming method, it's much easier to get in between the intricate parts of the design.
Using An Electric Sander
If you're looking to speed the process up and exert as little energy as possible, using an electric sander may be the option for you.
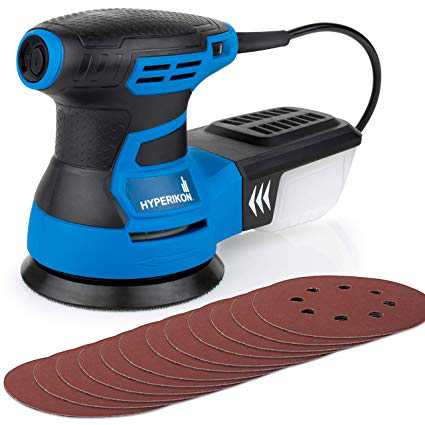
In theory, it's the same as using sandpaper but the machine is doing the 'rubbing' part for you.
If you've got large flat areas or long lengths to cover, this option will make the job much quicker and often produces a better finish than hand sanding.
The downfall of a normal electric sander is that it can be more difficult to get into grooves and small curves that are often present within skirting board designs.
Therefore, you may end up using sandpaper as well to finish the skirting.
Summary
As you can see, sanding down skirting boards is quite an easy task but can be time consuming. Hopefully, this post has advised you and you can go about sanding down as you please!
If you do have any other questions or you think we've missed anything, don't hesitate to call us or leave a comment and we'll endeavour to help you.
-

Lee Watkinson
Digital Marketing Director at Skirting World with 10 years of experience in Home Interiors & Manufacturing.
