How To Paint A Door | Complete Guide
Posted by Lee Watkinson on 22nd Nov 2021
How To Paint A Door
Bring a fresh look to your home affordably. Even if it's panelled doors that you're painting, this guide will help you achieve a professional finish. Let's learn how to paint a door.

Before You Start
Before we jump right in a slap some paint on a door, there are a few things we need to cross off the list.
Painting panelled doors can be a nightmare for decorators. However, we've worked out the best tools and materials required to get the job done quickly, easily and professionally.
Check out the table below for our recommendations.
| Materials | Tools |
| Paint |
Dust mask |
| Primer | Paint roller |
| Paint drip remover | Paintbrush(s) |
| Filler (sandable) | Putty Knife |
| Bucket | |
| Orbital sander (or sanding pads / sandpaper) | |
| Sanding block | |
| Clean rags | |
| Tweezers | |
| Utility Knife | |
| Good lighting (a work light is best) | |
| Hoover |
You'll notice that we've included good lighting in the tools section.
By this, we mean a light source (like a bulb) that's bright and directly above the door where possible (we recommend removing the doors to paint them efficiently).
If you're doing this in the daytime, next to a bright window should suffice.
Getting Started
There's a little more to think about and do before we start painting.
Painting A Door Takes Time
We're aiming for the best finish possible here.
Yes, if you leave the door in place, don't spend time prepping and simply slap some paint straight on the door you could be done much quicker.
However, we recommend that the door is removed from its frame, well prepped and care is taken when painting.
With this in mind, you should expect to prep and paint a single door within 3 - 5 hours.
Once you account for letting the paint dry, this turns into a full day project.
Bare this in mind when choosing which door to paint.
For example, if it's an essential door (such as a bathroom door or an external door) you'll want to start nice and early in the morning to make sure the door is ready to be fitted before the end of the day.
Choosing The Type Of Paint For Your Doors
It can be a difficult decision when choosing a colour of door paint, but you need to think about the type of paint too.
Like skirting, doors are subject to a lot of back and forth traffic. We've covered the best paint types for this kind of thing on our blog before.
When choosing for a door, thinking about the sheen of the paint and material of the door is a must.
If you opt for a flat finish (think matt paint), handprints and scuffs will be harder to wipe away.
If you go for a high gloss finish, you'll find them easier to clean but every little flaw will be accentuated.
If you want the best of both worlds, you should try a satin paint or semigloss.
For MDF Doors you will need a strongly adhering, fast-drying primer and a hardwearing acrylic.
Painting A Door
Now we can move on to the fun stuff - prepping and painting a door!
1. Preparing The Door For Painting
You might see some people painting a door whilst it's still in place. Professionals are exceptionally good at this.
However, you'll get much better results if you remove the door first.
Tip #1: If you have a garage, basement or workshop available, you'll be able to control drying and lighting conditions more easily.
Tip #2: If you can lay the door flat, runs in the paint will be minimized making for a better finish.
Once you've removed the door from the frame, start removing the hardware (hinges and handles).
This will make it easier to paint the door and get a neater finish rather than masking off the hardware.
If there's any paint build-up around these areas, slice through it to make removal easier and reduce the chances of the door chipping / peeling.
Now you'll want to thoroughly clean the door with a household cleaner (preferably a cleaner that will cut through grease).
Make sure to double check the areas prone to being touched like the area around the door handle, for example.
If the door has any dents or holes, it would be best to fill them. This way, the door will look as good as new once painted!
Tip #3: When filling the door, you may need to fill the deeper dents more than once to compensate for the shrinkage of the filler as it cures.
Once the filler is completely dry and you're happy with the coverage, sand it back to a flat and smooth finish so that it won't be noticeable once the door is finished.
As you've got the hardware off of the door, you can also take this time to remove any old paint from them and bring them back to life.
Use a high quality paint remover for this but make sure it's suitable for use in this manner first. For instance, a paint stripper might remove any clear coatings that are present on the handles or hinges which would be a problem.
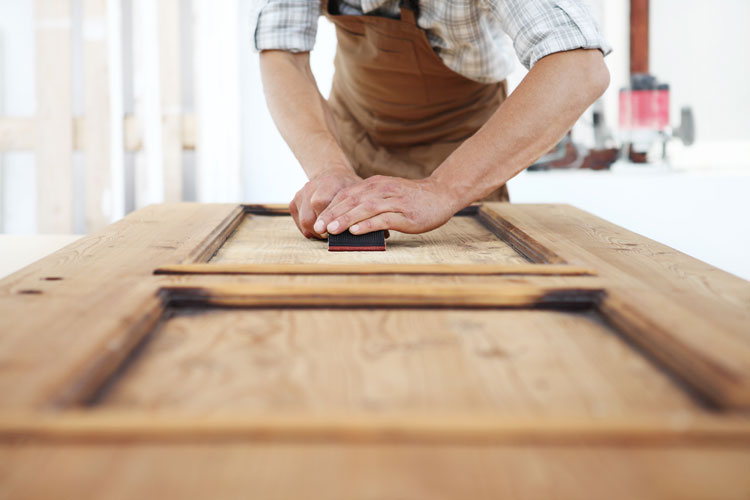
2. Sand The Door To A Smooth Flat Surface
When sanding, you'll want to use a sanding sponge or a light sandpaper. The best grit to aim for is between 180 and 220.
Using this all over the surface of the door will leave a slightly rougher finish and allow the primer coat to adhere to the door better.
Ensure that chipped paint is smoothed out along with any other imperfections on the door surface.

If the problem areas persist when using the current grade of sandpaper, try switching to a course grit like 120 or 150 (80 grit is also an option).
Just make sure that you go back over these areas with the higher grit paper as lower grits tend to leave sanding scratches.
On the profiled parts of the door, using a combination of sanding pads, sandpaper and sanding sponges will yield the best results.
On the flat areas, you'll be able to tackle old paint runs and brush marks using a hard sanding block.
Tip #4: If there's a lot of old paint on the door that needs to be sanded, use a sandpaper that is intended for use on paint. Using any old sandpaper may cause clogging (where the paint covers the sanding pad/paper) and render it almost useless.
3. Remove Any Dust Left After Sanding
Don't skip this step, it's really important!
You must remove all of the dust from the door to ensure that you have a smooth and debris-free surface upon which to apply your new coat of paint.
If you don't, you won't be able to achieve that new door look!
If you have a plain square door, this will be easier and you can simply use a hoover with a brush attachment and a damp rag.
If you have quite an intricately profiled door, you can use an old toothbrush in addition to the hoover and damp rag. This will ensure that you can get into any crevices where dust may be hiding.
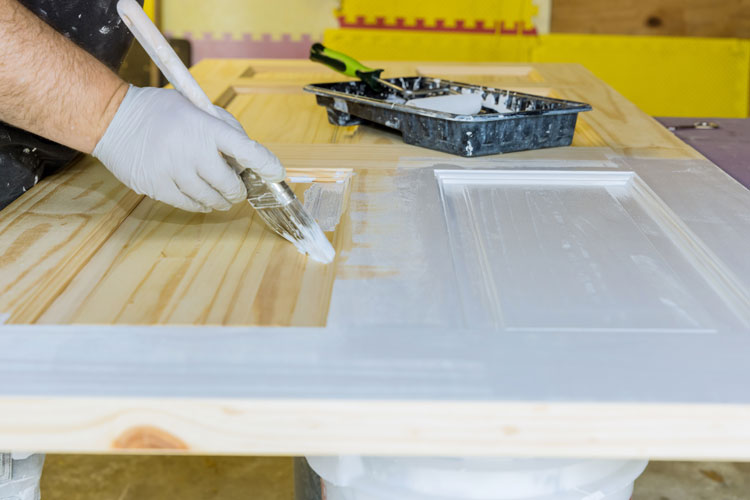
4. Apply Primer To The Door
For the best end result, you'll want to prime the door before applying your final paint finish.

You can choose to spot-prime the door. This is where you apply primer to the areas that have been repaired (dents, scrapes, etc.) or where you have sanded down to bare wood.
However, we'd recommend priming the whole door.
Tip #5: Priming the whole door gives the paint a much better surface to adhere to and you'll achieve a more uniform finish.
Bare in mind your choice of top coat when choosing a primer. A primer that's specifically made for use with your choice of paint will yield the best finish.
Again, for the best results you'll want to apply 2 coats of primer.
5. Sand Down The Door Again
Once the primer coat has been allowed to dry, the next step is to sand the door down again.
Don't worry! This step is just a light sanding with a high grit (220 should do it) sanding pad / sandpaper.
This simply takes any small imperfections out of the primer finish and gives a perfect surface for your paint to stick to.
Tip #6: Allow the primer to dry overnight. The longer it is allowed to dry, the better it will be to sand.
Once you're happy, use our tips from step 3 to remove any primer dust that may be left behind. You don't want anything getting in the way of your final coat.
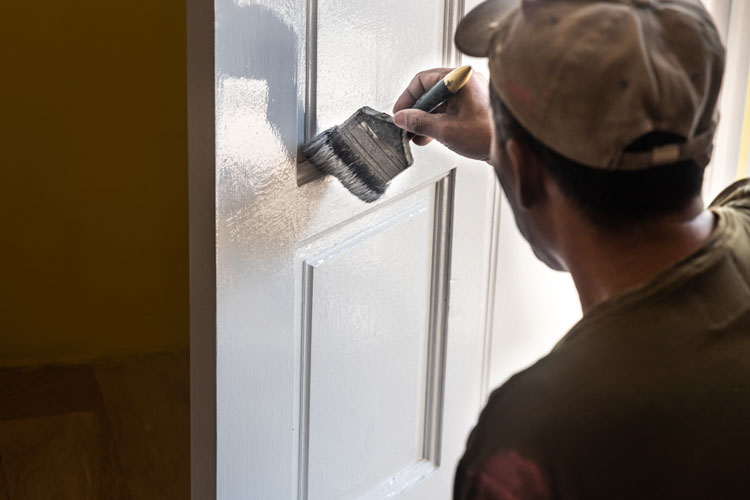
6. Paint The Door
We're ready to start painting the door!
Tip #7: You're against the clock when painting a door. Ensure that as you're painting, you're smoothing it out before it's had time to start drying. If this happens, you'll find that the paint becomes sticky and can be harder to work with meaning brush marks may not disappear.
First off, you'll want to paint the edges and wipe away any excess paint.
To do this, you can either brush or roll the paint onto all four edges.
A foam brush or rag will help to get any of the excess paint that ends up on either face of the door.
We advise brushing or rolling on a light coat and then layer up from there.
Although a heavier coat will cover the area better and more quickly, runs tend to happen more easily and the brush marks will be deeper and more defined.
If you're focusing on a flat area, say between a panel or on the stile, use a roller for quick and even coverage.
As soon as you've finished rolling the area that you're focusing on, brush out the paint. Roller stipple is more noticeable than light brush marks.
If you're using a high quality enamel paint, the results from rolling may well already be silky smooth.
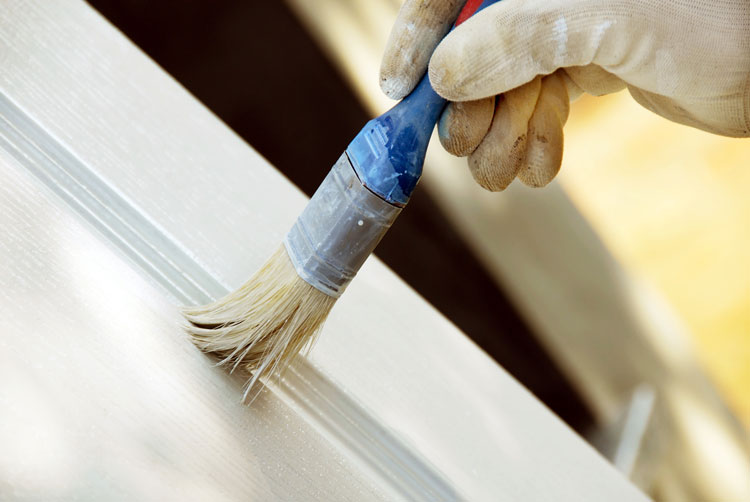
If the door features panels or areas with intricate detailing, use a brush to apply the paint.

With a brush, it's easier to work the paint into any grooves or corners.
Once you've done this, drag the brush over the paint in order to smooth it out.
Again, remove any excess paint straight away to avoid a messy finish.
When using a brush, you'll want to brush in the direction of the grain. This is because any visible brush marks will look just like the pattern of the wood grain.
We recommend that you finish one side of a door before you start on the other.
The most obvious reason is to avoid touching the wet paint if you attempt to flip the door and paint the other side. This will result in more work to redo the previous side.
Once you've applied a full coat, leave this to dry completely.
Before starting another coat, we'd recommend lightly sanding with 220 grit sandpaper again to get rid of any dust or nibs that may be present in the initial coat.
It can be really difficult for even a skilled painter to get a completely smooth finish when painting a door.
For a super smooth and mark free finish, spraying the paint onto the door will yield the best results.
It will also save you a lot of time as spraying a coat is much, much quicker than manually applying it using brushes and rollers.
And That's How To Paint A Door!
Now you should be ready to hang the door once again, sit back and take a look at your fine work!
Hopefully, this guide has helped you on your way to painting a door and bringing it back to life.
If you have any questions, feel free to get in touch with us and we'll be happy to help.

Lee Watkinson
Digital Marketing Director at Skirting World with 10 years of experience in Home Interiors & Manufacturing.


