


Caulking Skirting Boards | 6 DIY Steps
Posted by Lee Watkinson on 19th Sep 2025
Caulking skirting boards creates neat, professional lines that stop draughts and dust. Most DIY attempts fail because of UK humidity levels, cheap products, or painting too soon. Here's how to get results that actually last.
Why caulk jobs fail: UK humidity (70-90%) means standard cure times don't apply, and water-based paint often cracks over caulk without proper priming.
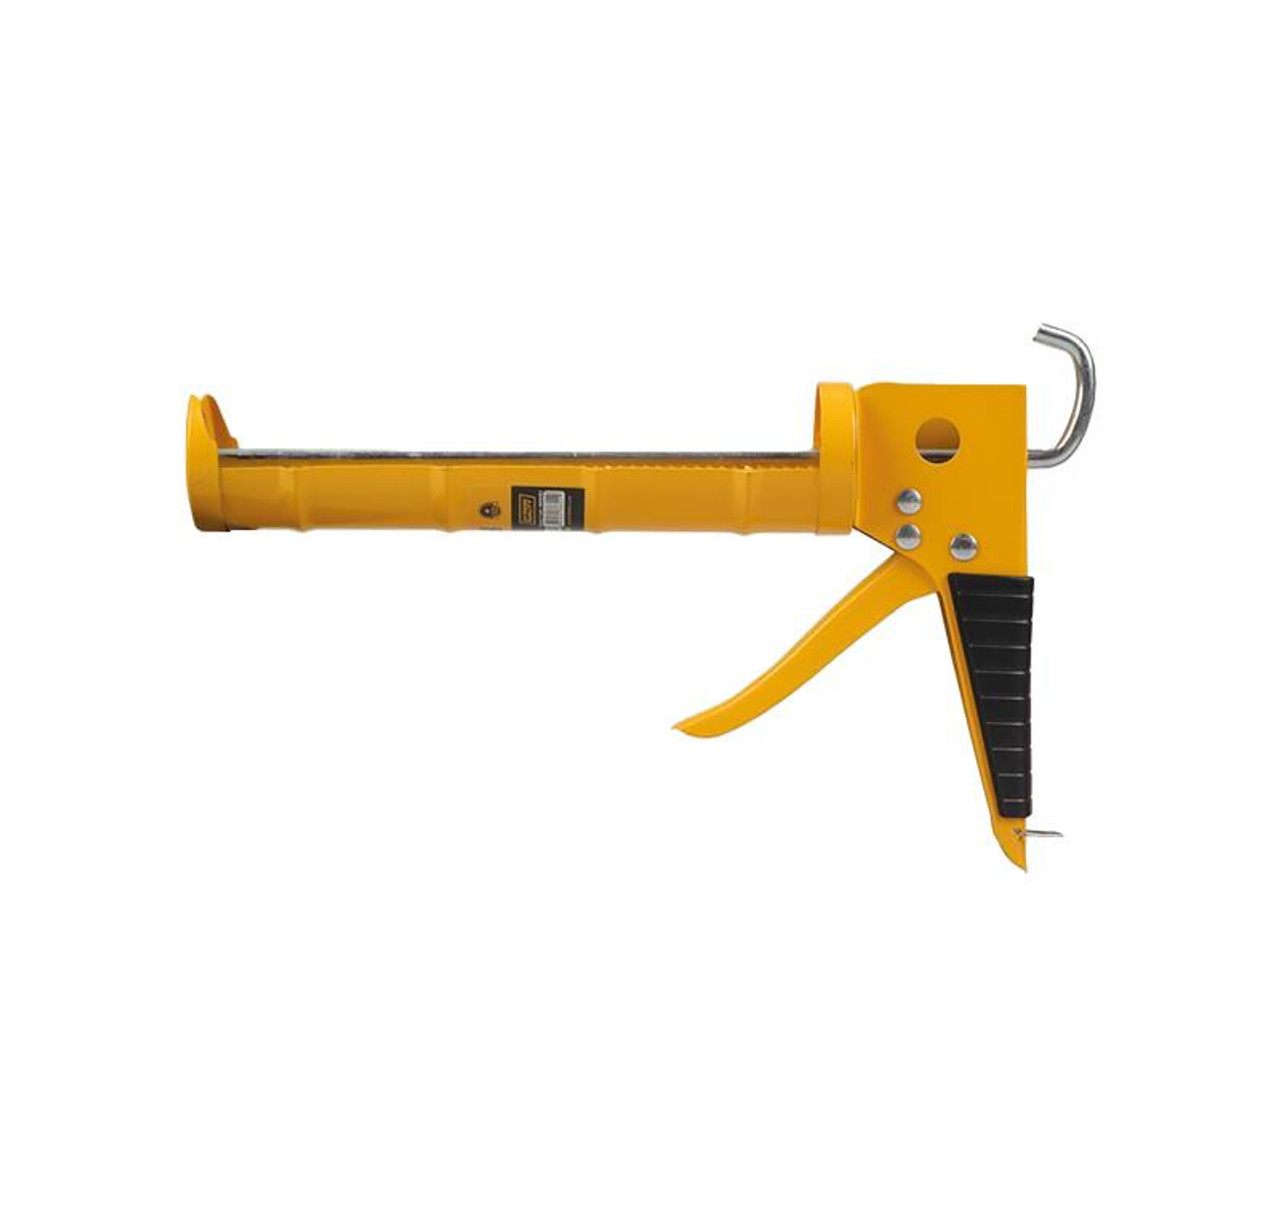
Tools & materials
Quality tools and materials cost £10-11 total but save you redoing the job when cheap alternatives fail:
Additional supplies
- Sharp craft knife for cutting nozzles and removing old caulk
- Washing up liquid and damp cloth for smoothing
- Vacuum cleaner for thorough dust removal
- Coving adhesive for gaps over 3mm (prevents sinking)
How to caulk skirting boards
This six-step process prevents the common failures that force you to start over:
Prepare the area
Remove all old caulk completely using a sharp knife. Clean the gap with a damp cloth and vacuum any dust. The surface must be completely dry before applying new caulk.
Cut nozzle and load gun
Cut the nozzle at 45° angle, starting with a 3-4mm opening. Load the cartridge into your caulk gun and test the flow on scrap material first.
Apply in one continuous bead
Hold gun at 45° angle and squeeze trigger gently. Move along the gap at steady speed without stopping. Don't apply too much - you can always add more.
Smooth immediately
Dip finger in soapy water and run along the bead in one smooth motion. Work quickly - caulk starts to skin over in 5-10 minutes. Wipe excess with damp cloth.
Allow proper cure time
Wait 24 hours minimum before painting, 48-72 hours in cold or humid conditions. UK humidity levels mean manufacturer times don't always apply - always wait longer.
Check and paint
Inspect for any areas where caulk has shrunk. Add more if needed and allow to cure again. When painting with water-based emulsion, prime caulk with oil-based primer first.
New timber warning: If your skirting is recently fitted timber (not MDF), wait 2-4 weeks for it to acclimatise before caulking. Fresh timber movement will crack any caulk applied too soon.
Fixing caulk problems
Best caulk for skirting boards
Acrylic decorators' caulk is best for skirting boards. It's paintable, stays flexible, and handles normal house movement without cracking.
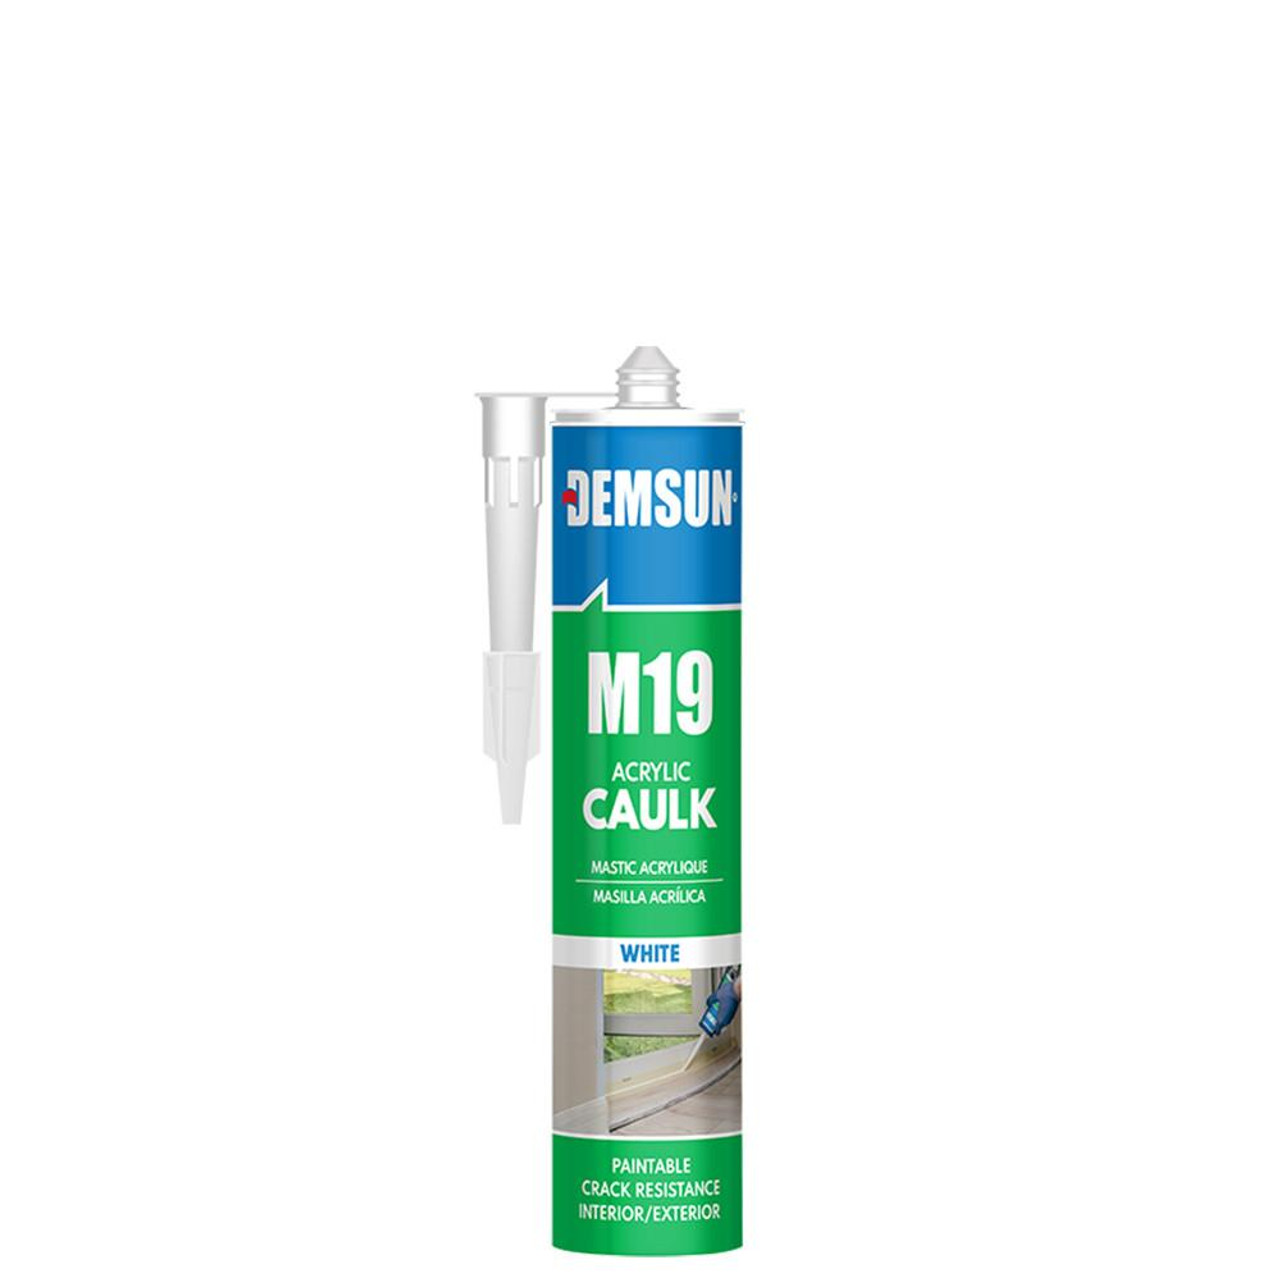
Demsun M19 Decorators Caulk
Permanently stays elastic, waterproof after curing, paintable and odour-free. Designed specifically for UK conditions.
£4.16 Ex. VAT
Caulk vs silicone
| Feature | Decorators' Caulk | Silicone Sealant |
|---|---|---|
| Paintable | Yes - essential for skirting | No - paint won't stick |
| Water resistance | Good when cured | Excellent |
| Flexibility | Good (5-10% movement) | Excellent (25%+ movement) |
| Best for | Interior trim, skirting, architrave | Bathrooms, kitchens, wet areas |
When not to use caulk
Caulk isn't the answer to every gap. Use the right product for the job:
- Nail holes in skirting: Use wood filler instead - it won't sink like caulk and gives a solid finish
- Large gaps in mitred corners: Mix PVA glue with sawdust for invisible repairs that match the wood
- Between skirting and floor: Use floor-edge sealant designed for movement, not decorators' caulk
- Cracks in plaster walls: These need proper filler that sets hard, not flexible caulk
- Exterior applications: Use weatherproof frame sealant designed for outside conditions
Get lasting results
Professional-looking caulking comes down to using quality materials, proper technique, and patience with cure times. UK humidity levels mean standard drying times don't apply - always wait longer than manufacturer recommendations.
The price difference between quality caulk and cheap alternatives is about £3 per tube. Compare that to the time and materials needed to redo a failed job, and quality products are always cheaper in the long run.