


Nails, Screws Or Adhesive To Fit Skirting Boards? | Comparison
Posted by Lee Watkinson on 21st May 2025
Securing skirting boards properly ensures they stay firmly attached for years to come. The three main methods, adhesive, nails, and screws, each have specific advantages for different wall types and situations.
Learn which fasteners work best for different wall types and how to use them for a secure, professional installation.
Shop Skirting Board FixingsWhen installing skirting boards, choosing the right fixing method makes the difference between a quick job that needs redoing in a few years and a proper installation that lasts decades. While each approach works, the best choice depends on your specific wall type and the look you want to achieve.
Though we recommend professional installation for the best results, many homeowners successfully fit skirting boards themselves. This guide outlines the three main fixing methods to help you decide which suits your project.
Using Adhesive
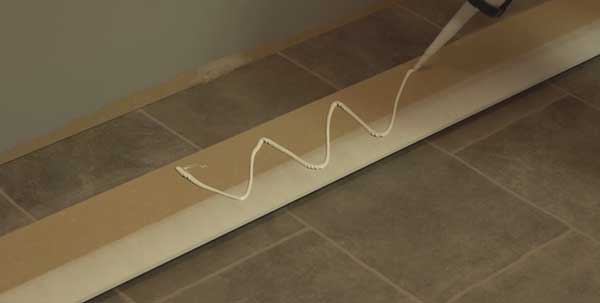
Adhesive provides the cleanest finish since there are no visible fixings. For straight, smooth walls, it's often the only fixing method you'll need. The technique is straightforward: apply adhesive to the back of the skirting, press it firmly to the wall, and allow it to cure.
For the best results, apply adhesive in a zigzag pattern along the back of the skirting board. This ensures even coverage when pressed against the wall while preventing excess from squeezing out at the edges.
The key to successful adhesive installation is using just enough, too little won't provide sufficient bonding strength, while too much may prevent the skirting from sitting flush against the wall.
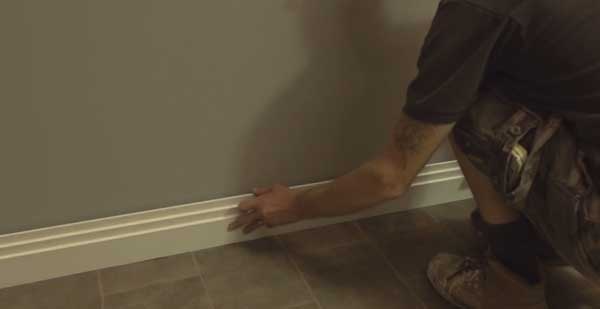
When positioning the skirting, press firmly along its entire length to ensure complete contact with the wall. For older properties with uneven walls, consider combining adhesive with another fixing method for additional security.

Recommended Adhesive
For most skirting installations, we recommend Demsun A30 Adhesive for its excellent bond strength and ease of use. For installations in high-moisture areas or outdoor applications, CT1 sealant provides enhanced durability and weather resistance.
Using Nails or Pins
Nails provide reliable mechanical fixing, particularly useful when combined with adhesive. This combination works well for uneven walls where adhesive alone might not create sufficient contact across the entire skirting board.
Installation Process
Mark nail positions
Before positioning the skirting, mark where the nails will go (typically where wall studs are located). This makes it easier to place the nails once the board is against the wall.
Apply adhesive if using
When combining with adhesive, apply it first in a zigzag pattern, then position the skirting against the wall.
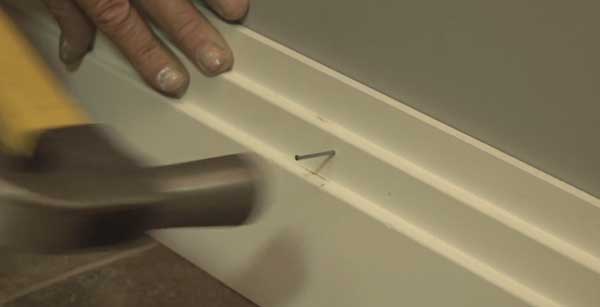
Nail the skirting
Use a hammer to drive the nails through the skirting and into the wall. Ensure the nails are long enough to penetrate the wall by at least 25mm after going through the skirting.
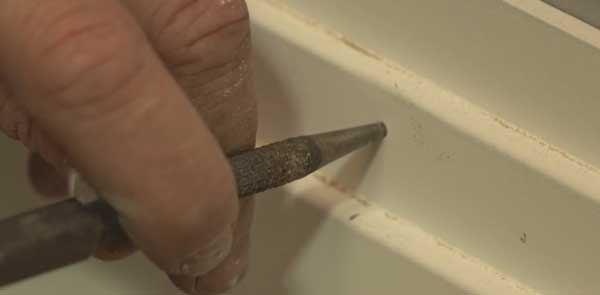
Set the nails
Use a pin punch to counter-sink the nail heads slightly below the surface. This allows you to fill the holes with wood filler for a seamless finish.
Tips for Nailing Skirting
- Use lost-head nails (40-50mm) for the cleanest finish
- Space nails approximately 600mm apart, with additional nails near the ends
- For harder walls, pre-drill with a narrow drill bit to prevent splitting the skirting
- Fill nail holes with wood filler that matches your paint colour or can be painted over
- Sand filled areas lightly once dry for a smooth, invisible finish
Using Screws
Screws provide the strongest mechanical fixing for skirting boards, making them ideal for older properties, uneven walls, or areas where security is paramount. While requiring more tools and time than other methods, screw fixing ensures the skirting stays put for decades.
The process involves drilling pilot holes through the skirting and into the wall, then securing with appropriate screws. Countersinking the screw heads allows them to be filled over for a clean finish.
Screws are particularly useful for solid masonry walls where nails may not penetrate easily, or for heavy skirting boards where additional support is needed.
For the most secure installation, combine screws with adhesive. The adhesive fills any gaps between the skirting and wall, while the screws provide mechanical strength.

Installation Process
Mark fixing points
Identify and mark wall studs or suitable fixing points on the skirting. For masonry walls, space fixings approximately every 60cm.
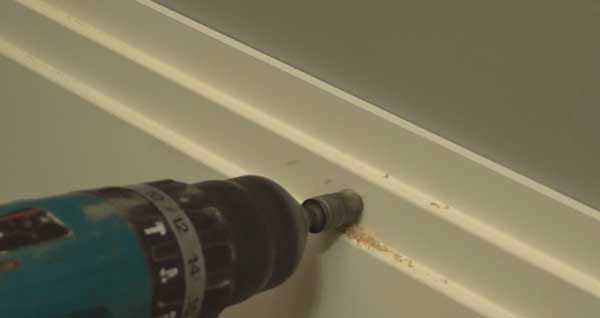
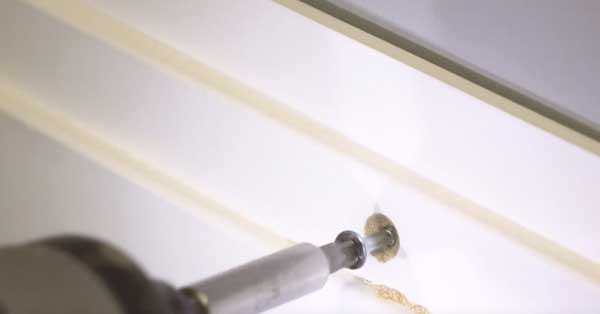
Drill pilot holes
Use a countersink drill bit to create pilot holes through the skirting board at your marked positions. This creates a guide hole for the screw and countersinks the head.
Mark the wall
Position the skirting against the wall and lightly mark the wall through your pilot holes. For masonry walls, remove the skirting and drill wall plugs at these marks.
Secure with screws
Apply adhesive if using, then position the skirting and drive screws through your pilot holes until the heads sit just below the surface.
Fill and finish
Use wood filler to cover the countersunk screw heads. Once dry, sand smooth and paint for a seamless finish.
Comparing Fixing Methods
Each fixing method has its strengths and ideal applications. Here's a straightforward comparison to help you choose the best approach for your project:
| Method | Best For | Advantages | Limitations |
|---|---|---|---|
| Adhesive Only |
|
|
|
| Nails/Pins |
|
|
|
| Screws |
|
|
|
For the most reliable installation, particularly in older properties or with taller skirting, a combination of adhesive with either nails or screws offers the best of both worlds: strong mechanical fixing plus gap-filling adhesion.
Final Thoughts
The best fixing method depends largely on your specific situation. For most modern homes with relatively straight walls, adhesive provides a clean, effective solution. For older properties or uneven walls, combining adhesive with either nails or screws offers the most reliable installation.
Whichever method you choose, taking time to prepare properly and use quality fixing materials ensures your skirting boards will stay securely in place for years to come. For the best results, consider the wall type, skirting material, and desired finish when selecting your fixing method.
Ready to Install Your Skirting?
Find all the fixings and adhesives you need for a professional skirting board installation.