How To End Skirting Boards | Finish A Run Neatly
Posted by Skirting World on 7th Nov 2019
Most of the time, a skirting board will run into another piece of skirting. Sometimes it will run into a piece of architrave. But what happens when you need to end the skirting on an area where you don't need to continue the run? We're going to show you a few options that you have to make a neat finish. So here's our guide on how to end skirting boards neatly!
When Do You Need To End Skirting Boards?
Generally speaking, a skirting board will butt up to something - be that architrave, a wall or another piece of skirting. However, there will be times when this just isn't possible.
Maybe the skirting needs to finish early along a certain wall. An easy option would be to just cut the skirting there and then. However, this can be unsightly and there are far better options out there.
Mitre And Return The Skirting Into The Wall

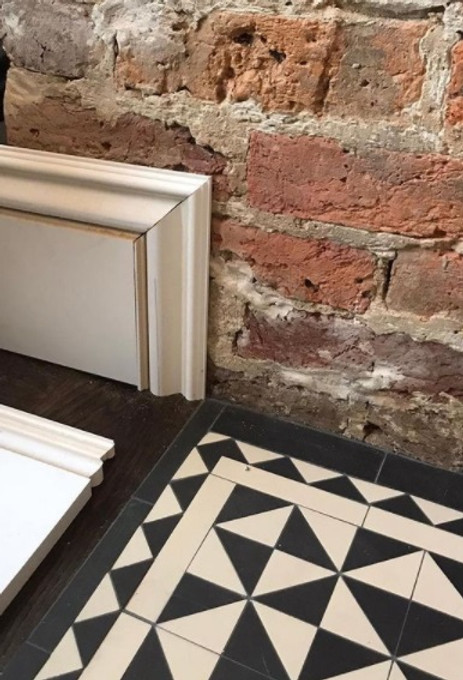
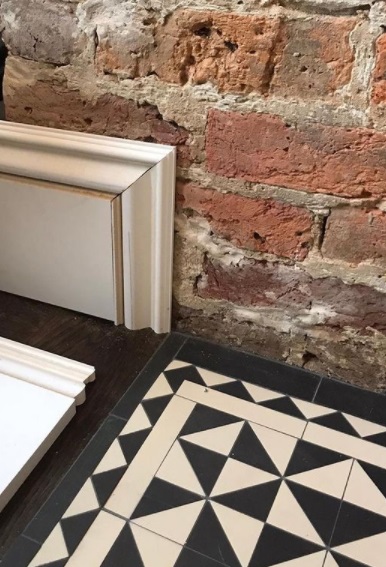
We think this option is the easiest and looks the best once complete. Within the trade, it is known as a stop end.
Essentially, the result is a piece of skirting that looks like it takes a 90° degree turn and returns (almost disappears) into the wall.
It involves using a standard 45° degree external mitre cut and using a very small return piece.
So, to start:
- Cut the skirting length to the desired size and cut an external mitre on the end of the board.
- Install the skirting board to the wall.
- To cut the return piece, mark a square line on a matching piece of skirting. Then cut a mitre in the opposite direction to the previous mitre.
- You can then use glue and small veneer pins to fix the return piece in place.
Once finished, you'll be left with a neat and tidy stop end.
Mitre The Design Down Towards The Floor

Another option is to mitre the skirting board so that it appears to turn down towards the floor rather than into the wall.
This option also eliminates having the end grain on show which can make the skirting look unfinished.
The easiest way to do this is to cut the skirting to length and then perform a 45° degree cut down and across starting from the top corner.
This way is easier than the method we're about to describe but has a less desirable finish due to the join that is made.
For a neater and more aesthetically pleasing finish, you'll want to make the same 45° degree cut. However, you will finish the angled cut where the design finishes and then use a square to go straight down to the floor.
To finish this off, you'll need to cut the design off of another piece of skirting. You can then cut this to size leaving the appropriate end square and cutting a 45° degree angle on the opposite end so it fits into the slot perfectly.
You'll end up with a finished skirting that looks like it disappears into the ground.
Ending Skirting Boards At The Architraves
This one might sound strange because skirting boards normally butt up to architraves.
However, this only works when the skirting sits flush or behind the architraves (where the skirting is the same thickness or thinner than the architrave).
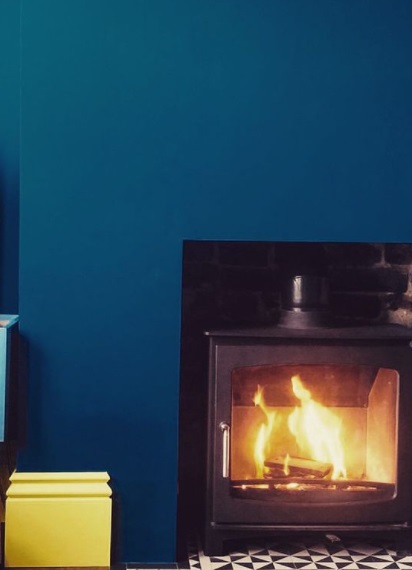
If the skirting is thicker than the architrave, you could use Plinth Blocks instead.
But if you don't want to use Plinth Blocks, there is a workaround you could use. A small chamfer on the proud section of skirting won't look too odd and can help it to sit level with the architrave.

Lee Watkinson
Digital Marketing Director at Skirting World with 10 years of experience in Home Interiors & Manufacturing.
