How To Fit A Dado Rail | Expert Guide
Posted by Lee Watkinson on 25th Sep 2023
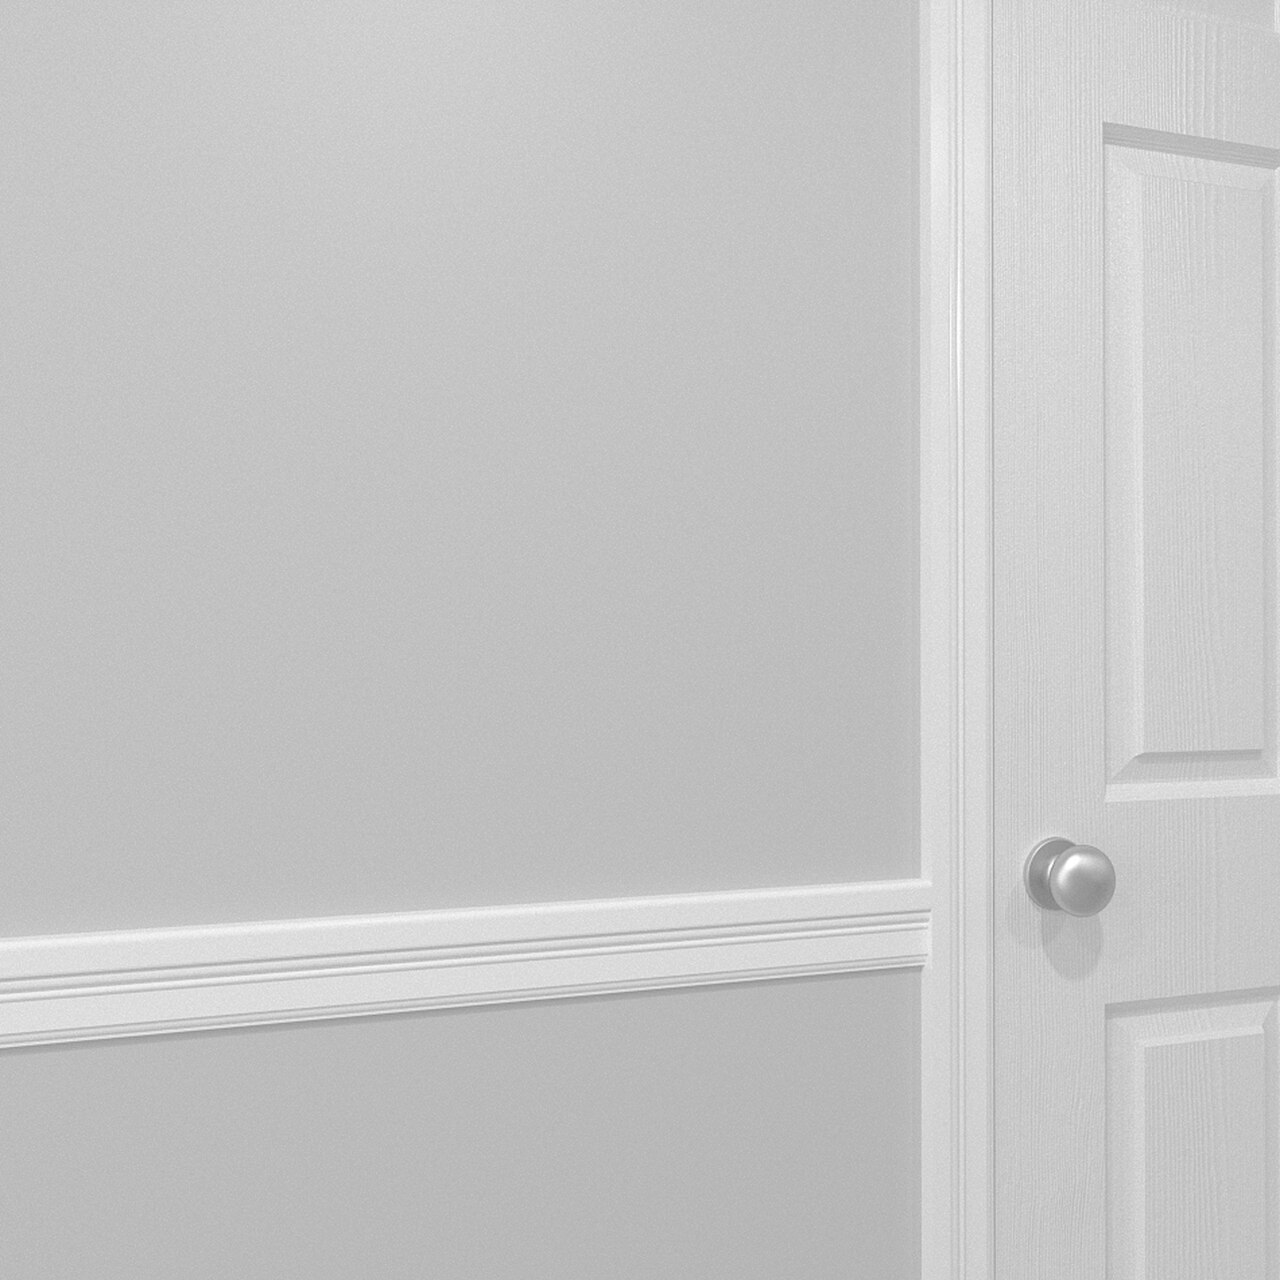
Dado Rail Installation Guide
Tools & Materials
- Dado Rail
- Spirit Level
- Tape Measure
- Coping Saw
- Mitre Box & Hand Saw / Mitre Saw
- Nail Gun / Hammer & Nails
- Adhesive
- Pencil
- Sandpaper (Optional)
- Wood Filler / Spackle (Optional)
Step-by-Step Dado Rail Fitting Guide
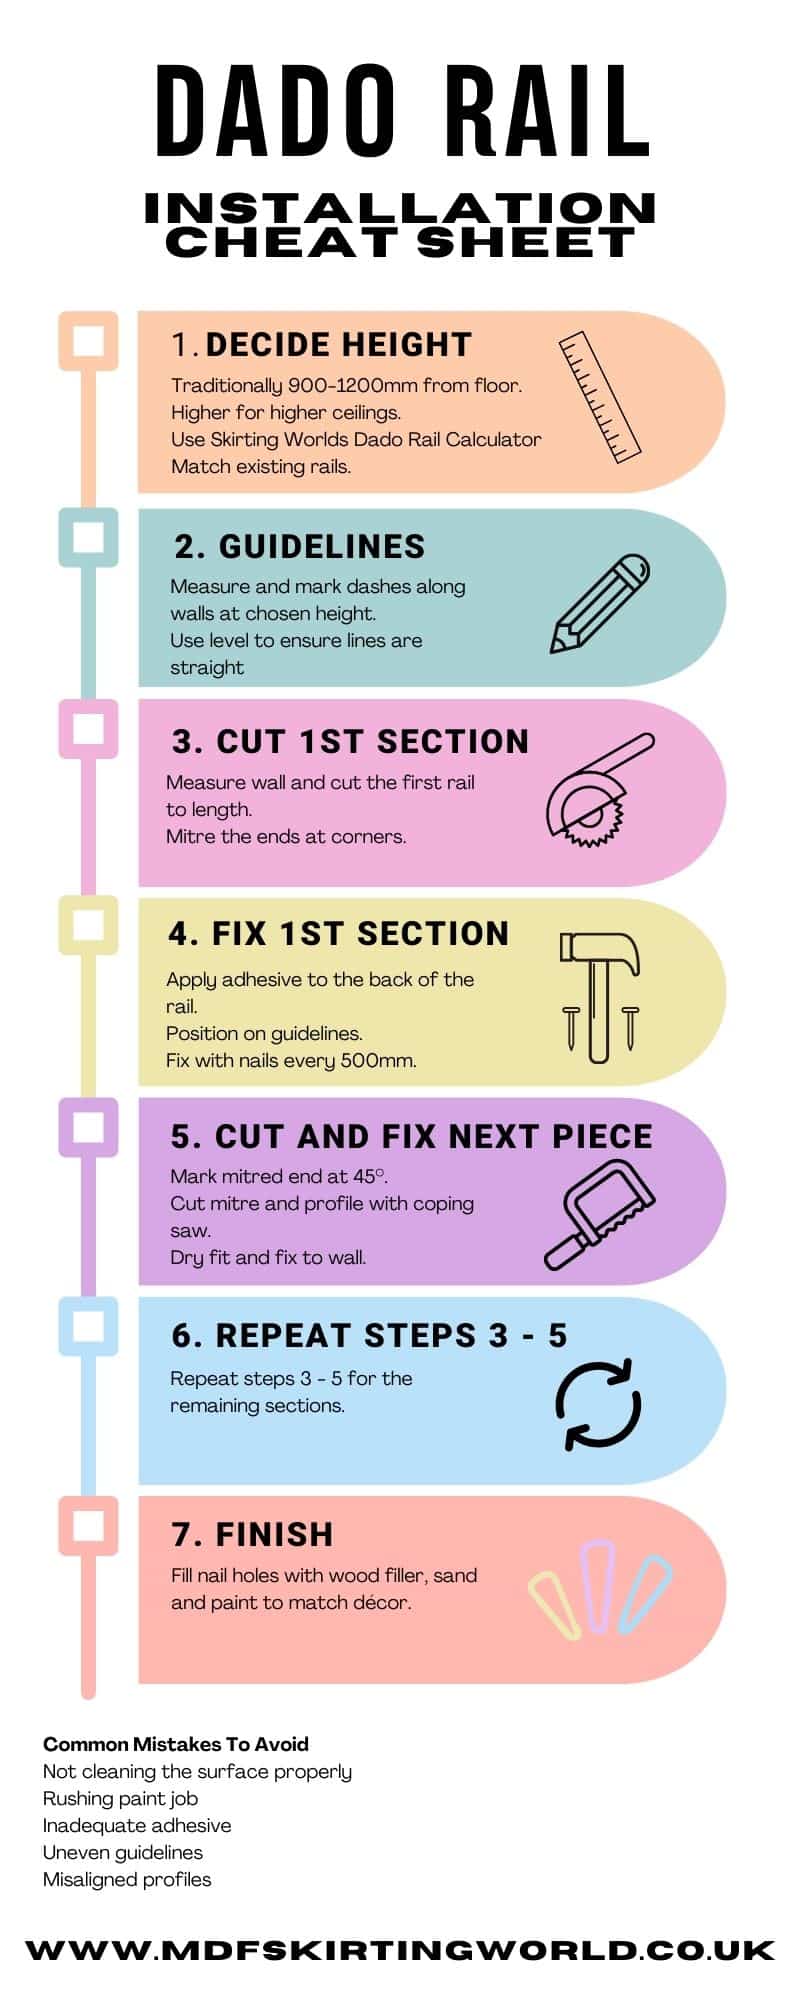
1. Calculate the ideal dado rail height
First go to our handy Dado Rail Height Calculator to find out the perfect height for installation.
- Traditionally Dado Rails are placed 900-1200mm up from the floor.
- Consider your rooms proportions and aesthetics.
- Higher for rooms with higher ceilings, up to 1/3 of the wall height.
- Match the existing height if you're replacing old rails.
- If installing Dado Rails on Stairs - Use Our Stair Angle Calculator
2. Draw guidelines on your wall
- Using your tape measure, measure up to your desired height from the floor and mark with a pencil.
- Mark your wall with short horizontal dashes at regular intervals along the wall and in the corners.
- Continue marking around the room until the walls are fully marked.
- Double check each guideline with your spirit level to ensure they are perfectly level.
Pro Tip: Use your spirit level as a straightedge to trace the line. Secure the level against the wall with the top edge just below the dado rail height. Let the top of the level guide your pencil along the wall to create a perfectly level line.
3. Prepare the first section
Now that you have a clear guideline to work with, we can prepare the first length of dado rail.
- Measure the first section of wall and cut the dado rail to length.
If the dado rail is not long enough to reach the end of the wall, you can join multiple pieces together. To use the least amount of pieces, start by measuring the longest length that will fit the wall. Then, cut the remaining pieces to size.
- The ends of your dado rail will need an internal or external mitre when they meet a corner, you can follow our internal mitring and external mitring guides for skirting boards, the same method applies to dado rails.
- Ensure the mitred end is flush with the wall corner.
4. Fix the first section to the wall
- Position the first dado rail piece against the guideline you made earlier.
- Apply a small amount of adhesive to the rear of the dado rail and gently push against the guideline with the help of your spirit level.
- Using your spirit level, ensure that the dado rail is perfectly level, you can adjust it slightly whilst the adhesive has not yet set.
- When the dado rail is perfectly level, fix it to the wall with nails, use your hammer or nailgun to position a nail roughly every 500mm.
5. Preparing and fixing the second section
- Hold the end of the second piece of dado rail up to the end of the first piece, ensuring that the profiles are aligned.
- Mark the end of the second piece of dado rail with a pencil at a 45-degree angle to the edge of the dado rail.
- Use your mitre saw to cut the marked end at a 45-degree angle.
- Then use your coping saw to cut away the profile of the second piece, following the line of the pencil mark. This ensures it fits over the first piece.
- Smooth out the edges of the cut using a file or sandpaper.
- Dry fit the second piece of dado rail to the wall to ensure a good fit. If the fit is good, you can go ahead and fix it to the wall using the previous method,
6. Install the remaining dado rails.
- Repeat steps 3-5 for each remaining section of dado rail.
7. Finishing touches.
- Fill any nail holes with wood filler and sand the surface smooth.
- Paint or stain the dado rails to match the rest of your décor.

Lee Watkinson
Digital Marketing Director at Skirting World with 10 years of experience in Home Interiors & Manufacturing.


