Window Sills for Interior Applications
Our moisture-resistant MDF window boards deliver exceptional quality for interior window sills. Made to measure in our Birmingham workshop, each board combines durability with refined aesthetics.
- Premium moisture-resistant MDF construction
- Available in four distinct profile styles
- Made to your exact specifications
- 25-year manufacturer's guarantee
- Free delivery on orders over £30
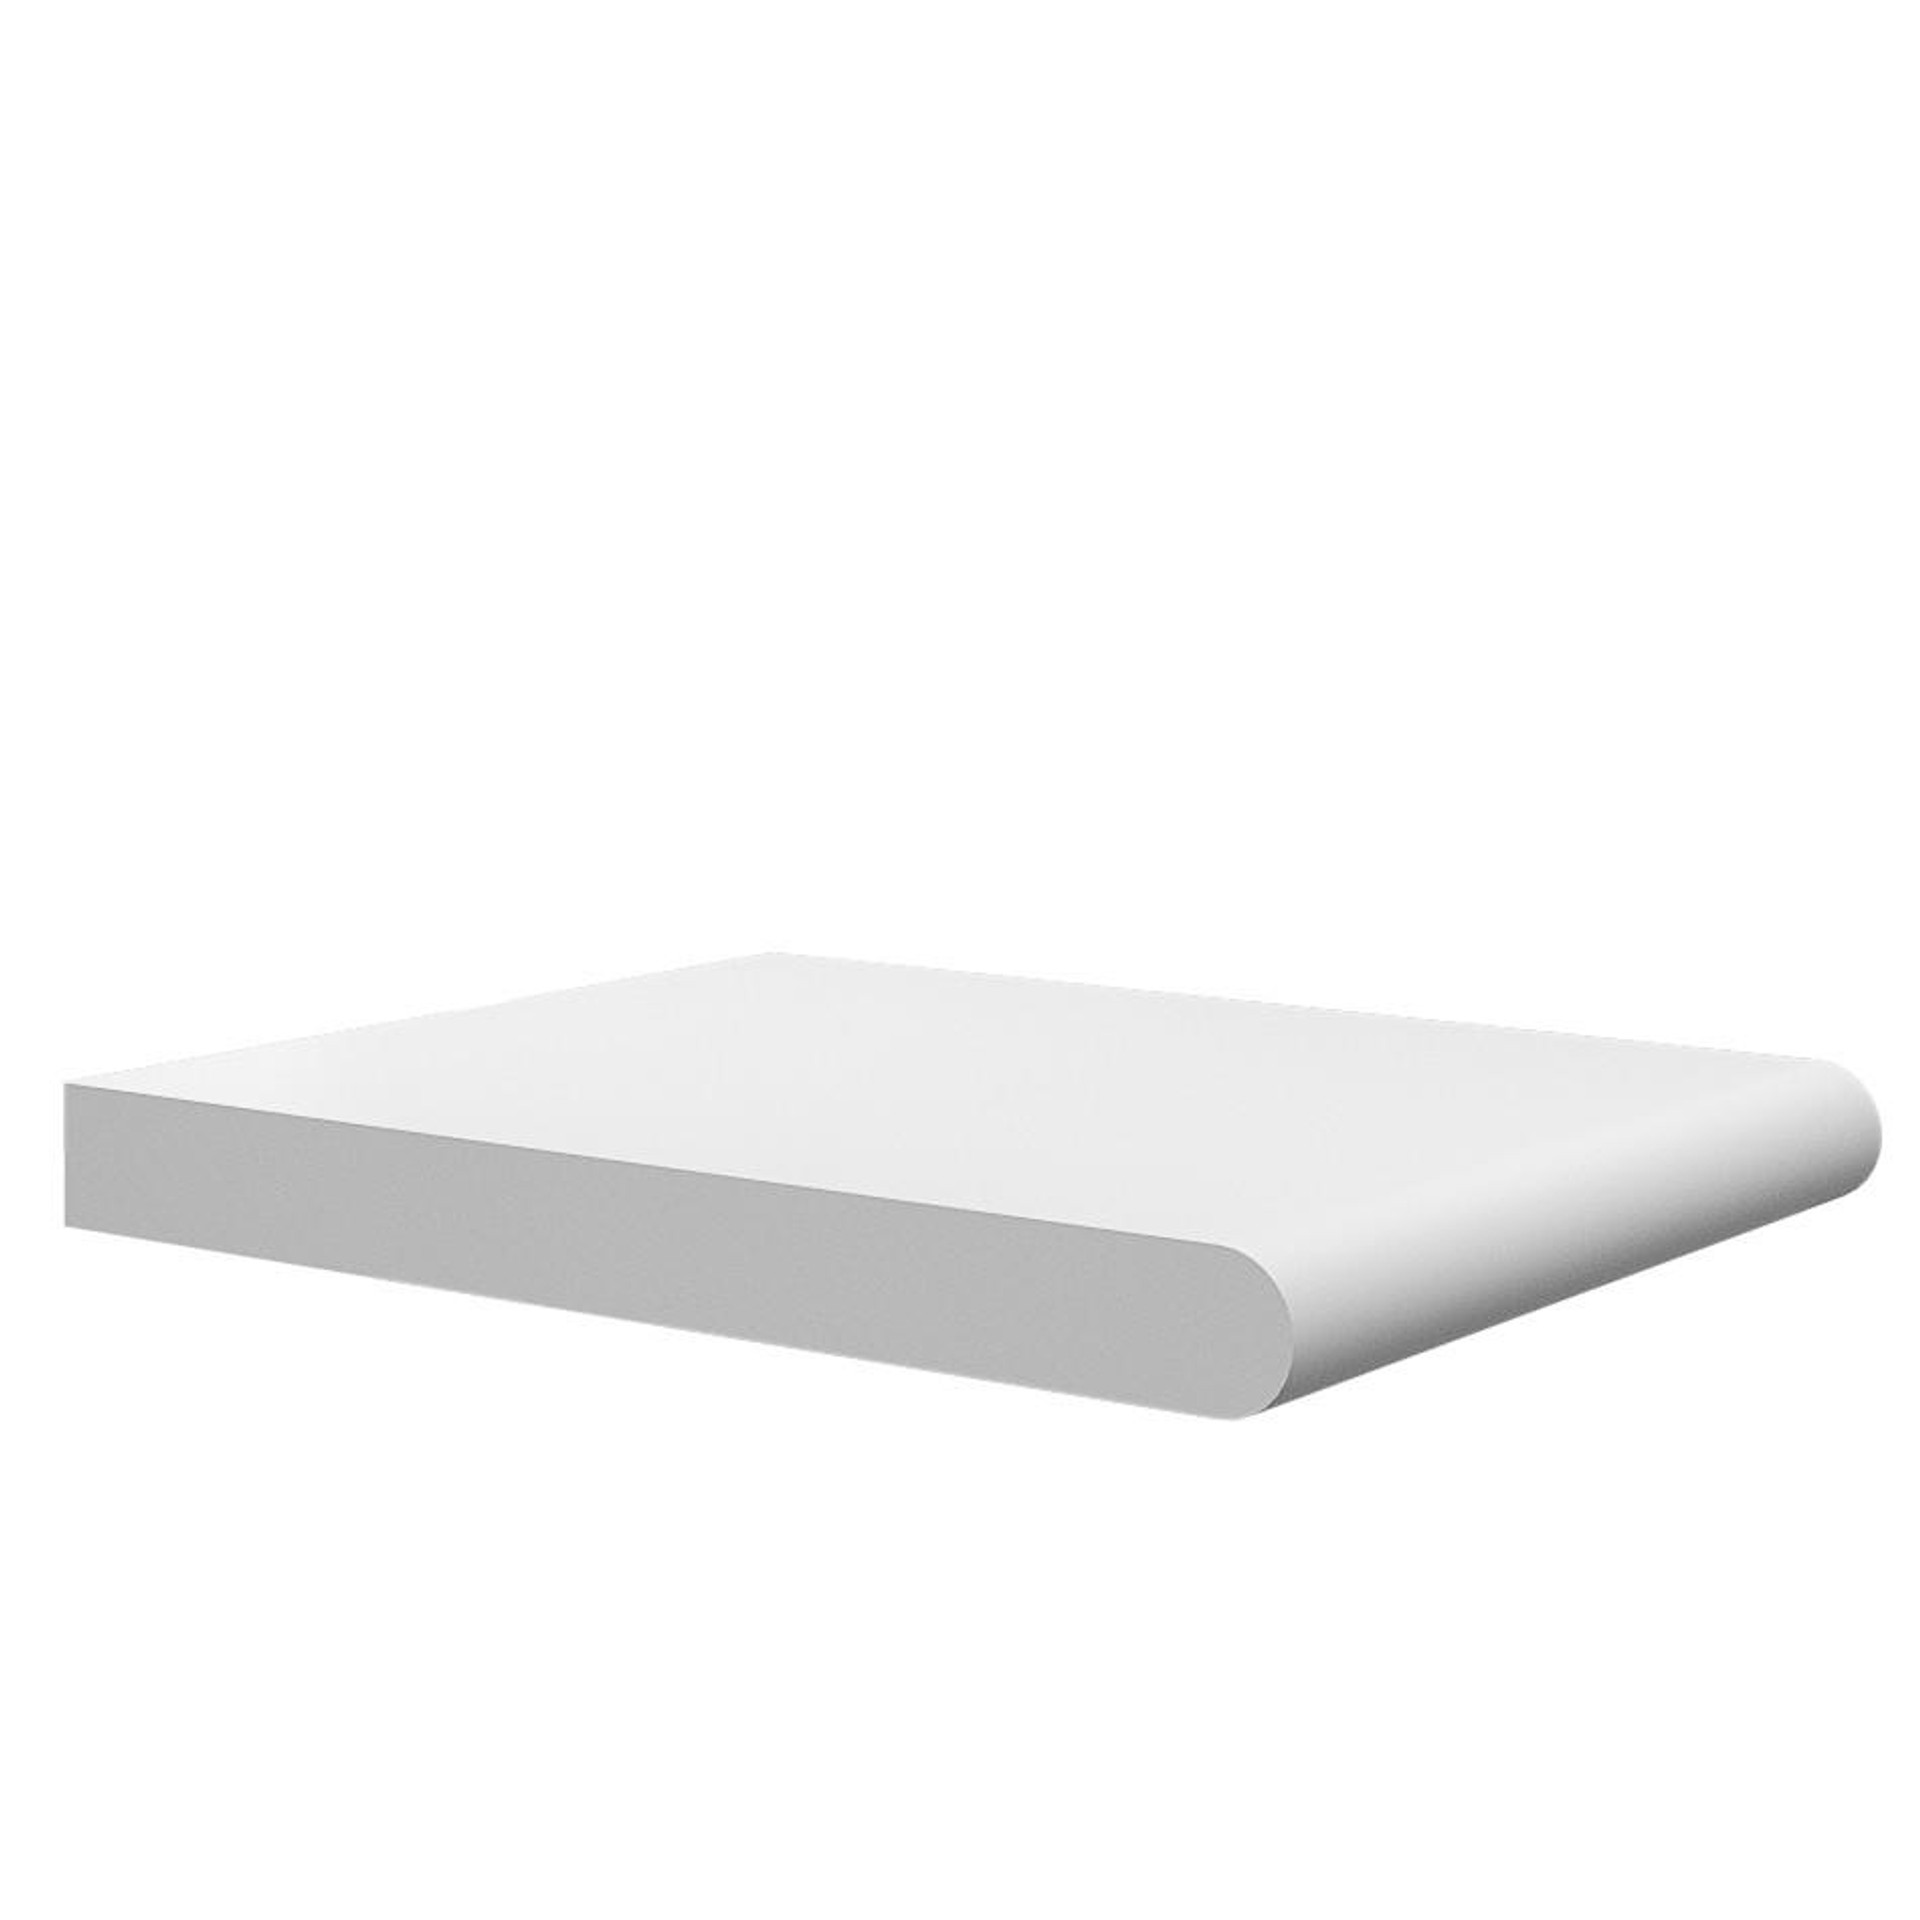
Bullnose Window Board
Classic design with a single rounded edge, perfect for both traditional and contemporary window settings.

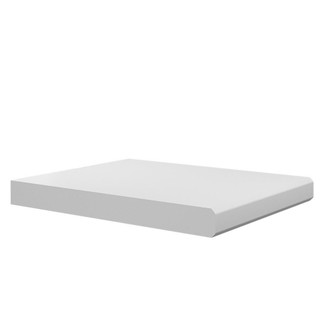
Square Window Board
Clean lines and sharp edges define this contemporary design, ideal for modern interiors with minimalist aesthetics.
Double Bullnose Window Board
Distinguished by dual rounded edges with a flat central section, ideal when both edges will be visible.
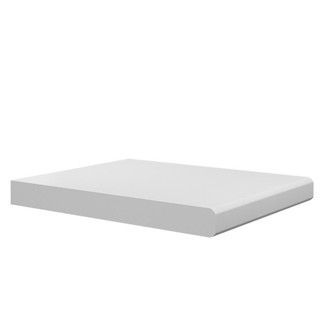
Double Edge Window Board
Modern elegance with dual chamfered edges and a flat central section, creating subtle shadow lines.
Build Your Custom Window Board


Why Choose Our MDF Window Boards
Moisture-Resistant MDF
Our window boards are crafted from high-density moisture-resistant MDF, offering superior stability compared to natural wood. This specialized material resists warping and maintains its form.
Multiple Finishing Options
Choose from unprimed, primed, undercoated, or matt grey finishes. Our primed and undercoated options receive multiple coats with professional sanding between applications.
Custom Manufacturing
Each window board is made to order in our Birmingham workshop, ensuring precise measurements to fit your specific requirements. Available in various depths from 150mm to 400mm.
How to Fit MDF Window Boards
Accurate Measuring
Taking precise measurements is crucial for a professional window board installation. Follow these steps to ensure your window board fits perfectly.
- Measure the Window WidthMeasure the total width of the window opening from edge to edge. For the best fit, take measurements at multiple points as window openings aren't always perfectly square.
- Determine Board LengthAdd at least 25mm (1 inch) to each side of your window width measurement to allow for adequate overhang. This creates the proper projection past the window frame.
- Measure Wall DepthMeasure from the window frame to the front edge of the wall. This determines the depth (width) of your window board.
- Calculate Board DepthAdd at least 25mm to your wall depth measurement to create an overhang at the front. This prevents water from running down the wall and provides a finished appearance.
Surface Preparation
Proper preparation ensures a secure fit and professional finish for your window board installation.
- Gather Tools and MaterialsYou'll need: a tape measure, pencil, saw (ideally a miter saw for clean cuts), sandpaper, adhesive, caulk, and a level. Having everything ready makes the installation process smoother.
- Remove Existing Window BoardIf replacing an old window board, carefully remove it without damaging the surrounding wall. Use a utility knife to cut through any caulk or paint sealing the edges.
- Clean the SurfaceEnsure the installation area is clean, dry, and free from dust or debris. Remove any old adhesive or uneven areas to create a level surface for the new window board.
- Check for LevelVerify that the area where the window board will sit is level. Minor adjustments can be made with shims if necessary to ensure a perfectly level installation.
Board Installation
Follow these steps to secure your window board in place for a professional and lasting result.
- Test Fit the BoardBefore applying any adhesive, place the window board in position to check the fit. Make any necessary adjustments by trimming or sanding to ensure a perfect fit.
- Apply AdhesiveApply a generous amount of construction adhesive to the underside of the window board in a zigzag pattern. Focus on the edges and middle to ensure proper adhesion.
- Position the BoardCarefully place the window board onto the prepared surface, pressing firmly to secure it. Use a level to ensure it's perfectly horizontal and make adjustments while the adhesive is still workable.
- Secure the BoardFor added stability, you can use finishing nails or screws to secure the board while the adhesive cures. Place weights on the board or use clamps if necessary to maintain pressure during curing.
Final Finishing
Complete these finishing steps to achieve a professional appearance for your window board installation.
- Fill Gaps and Nail HolesUse decorators' caulk to fill any gaps between the window board and the wall. Fill nail holes or screw holes with wood filler, sanding smooth once dry.
- Sand Edges if NeededIf you've made any cuts to the window board, lightly sand the edges to ensure they're smooth and free from rough spots or splinters.
- Apply Paint or FinishIf using unprimed boards or if you've made cuts, apply primer to raw edges before painting. Apply your chosen paint or finish according to manufacturer instructions for a cohesive look.
- Final InspectionOnce everything is dry, carefully inspect your work. Look for any spots that need touch-ups or additional caulking to ensure a clean, professional finish to your window board installation.
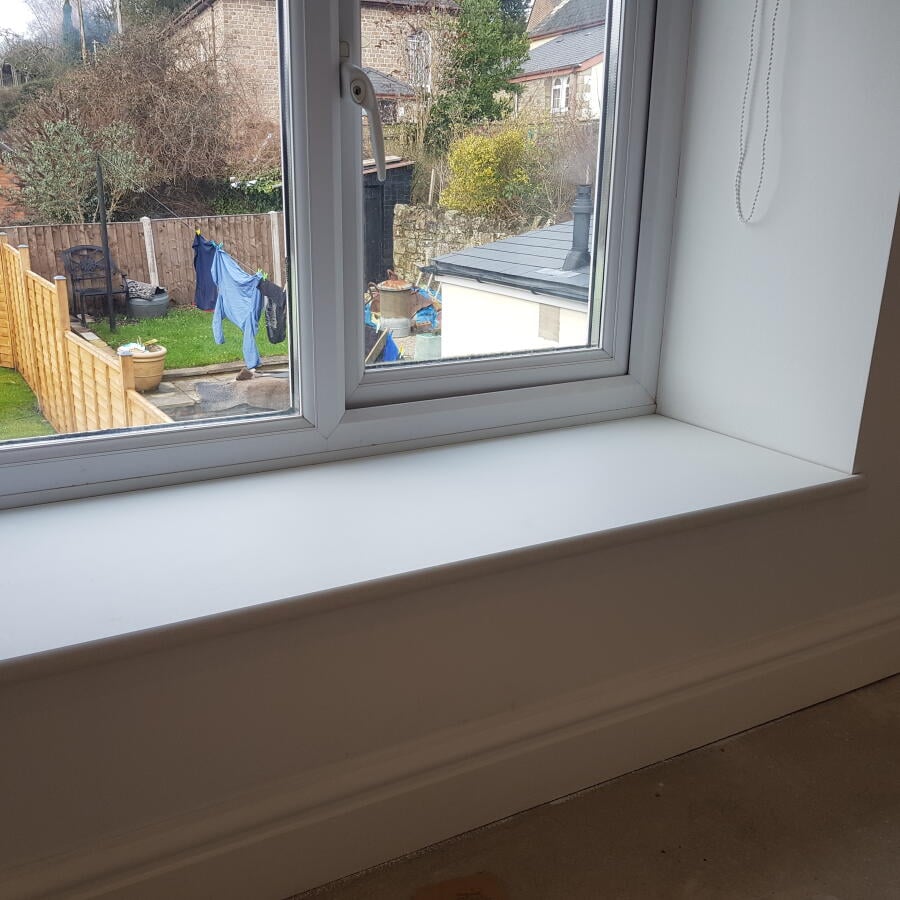
Customer Installations

Very good

Excellent quality; well primed and worked perfectly for our little project
Quick delivery and very happy with the product. Would buy from again.
Frequently Asked Questions
What's the difference between window sill and window board?
They're essentially the same thing. In British terminology, we often use 'window board' to refer to the interior window sill. If the board is deep enough to sit on, it might be called a window seat.
Where do these window boards go?
Our MDF window boards fit on the inside bottom edge of your window, providing a finished edge where the window meets the wall. These are designed for interior use only.
What's their purpose?
Window boards serve multiple functions: they support your window frame, prevent warping, provide a useful surface, and complete the aesthetic finish of your window area.
Can you paint MDF window sills?
Yes, MDF window boards accept paint beautifully. For best results, choose our primed or undercoated options which have already been professionally prepared. If using unprimed MDF, apply a quality primer first to ensure proper adhesion and a smooth finish.
How do you fit a window board?
Fitting a window board involves measuring accurately, preparing the surface, cutting the board if necessary, applying adhesive, positioning it in place, and finishing with caulk. See our detailed installation guide above for step-by-step instructions.
Which is better - plastic or MDF?
For exterior applications, UPVC (plastic) is recommended as it better withstands weather conditions. For interior window sills, our MDF boards are superior as they accept paint beautifully and offer a more premium aesthetic finish.
How far should the board extend beyond the window frame?
We recommend the window board extends at least 25mm (1 inch) past your window frame. This provides adequate protection for the wall below and creates a balanced visual appearance.
How do I remove mould from window sills?
For light mould on MDF window boards, clean with a solution of water and mild detergent. For persistent mould, use a specific mould remover product, ensuring it's suitable for MDF. After cleaning, ensure the area is thoroughly dried, and consider treating with a mould-resistant primer before repainting.
Trade Account
For ProfessionalsEnjoy exclusive trade discounts on all our MDF window boards and other products when you sign up for a trade account.
Apply for Trade Account